
Gas stoves have long been a central fixture in kitchens, providing reliable heat and control for everyday cooking. Among the many small components that allow a gas stove to function safely, the pilot orifice plays a critical role. It is a tiny part with a big responsibility: delivering the correct amount of gas to the pilot flame, which in turn ignites the burners when you need them. Like all mechanical parts, however, the pilot orifice can become clogged, worn, or damaged over time. When that happens, you may notice difficulties with ignition, inconsistent flames, or even a complete failure to light.
Understanding how to replace a stove pilot orifice is a valuable skill for homeowners and technicians alike. It combines practical repair knowledge with a strong focus on safety. This article will guide you through every stage of the process, from recognizing symptoms of a failing pilot orifice to safely installing a replacement.
Understanding the Pilot Orifice
At its simplest, the pilot orifice is a precision-drilled opening designed to control the flow of gas to the pilot light. Gas enters through the orifice at a regulated rate, ensuring that the pilot flame is steady, strong, and efficient. If the orifice becomes blocked by grease, dust, or carbon deposits, the flow of gas decreases and the flame may shrink or flicker. On the other hand, if the orifice is damaged or enlarged, the flame may become too large, wasting gas and creating unsafe conditions.
This tiny piece of metal might not look important, but it is engineered with accuracy because even a small change in its size alters how the pilot flame behaves. That is why replacing it correctly is essential when it becomes faulty.
Signs That the Pilot Orifice Needs Replacement
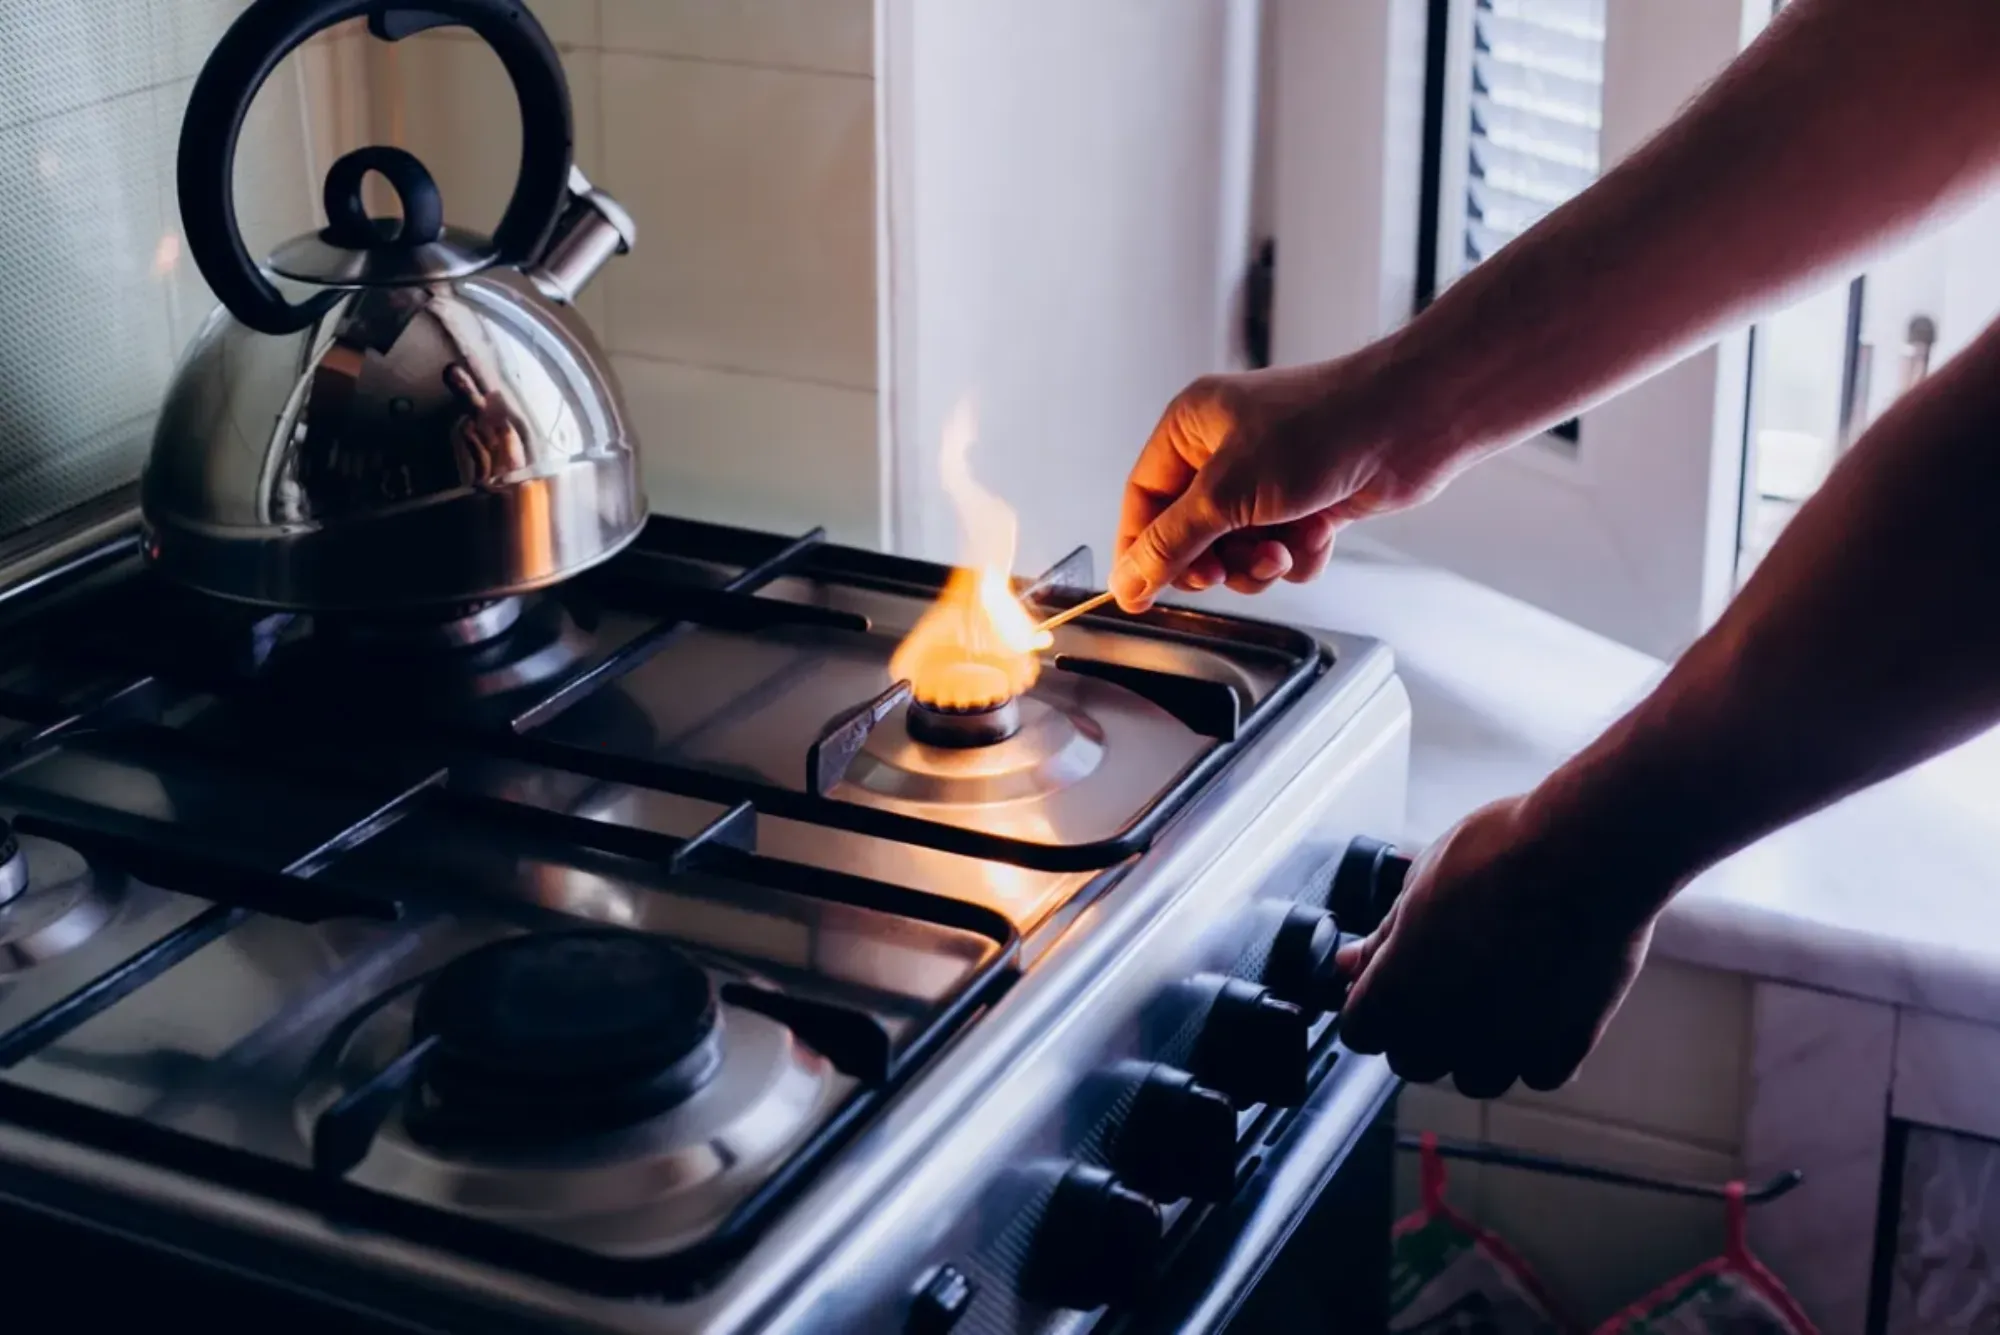
One of the earliest signs of a worn or clogged orifice is difficulty lighting the stove. You may turn the knob and hear the gas hiss, but the pilot flame does not catch or remains weak. Another sign is inconsistency; the pilot flame may burn strongly one day and sputter the next. In some cases, the flame may extinguish without warning, leading to repeated attempts at relighting.
Another issue is yellowing of the flame. A healthy pilot flame should burn blue, indicating efficient combustion. If the flame appears yellow or orange, the orifice may be obstructed, disrupting the gas-to-air ratio. Finally, physical damage to the orifice, such as cracks or corrosion, requires immediate replacement.
Safety Preparations Before Beginning
Working with gas appliances demands careful attention to safety. Before attempting to replace a pilot orifice, the gas supply to the stove must be completely shut off. This step ensures that no gas escapes during disassembly. Next, unplug the stove if it has electrical connections for igniters or controls. Allow the appliance to cool fully before starting, as even minor residual heat can be hazardous during repair.
Wearing protective gloves and safety glasses is also recommended. These provide defense against sharp edges inside the stove and reduce the risk of injury from small debris or sudden bursts of gas if the system is not fully depressurized. A fire extinguisher should be kept nearby, although the goal is to prevent any conditions where it might be needed.
Accessing the Pilot Assembly
To reach the pilot orifice, you must access the pilot assembly. This typically requires removing grates, burner caps, and sometimes the stove top itself. On many models, screws secure the top panel; removing them exposes the burner assembly and the pilot system beneath.
The pilot assembly consists of a small tube leading to a flame outlet, and inside this system lies the orifice. Depending on the design, it may be located at the tip of a pilot tube or recessed within a holder. Taking photographs during disassembly helps ensure you can correctly reassemble the stove later.
Removing the Faulty Orifice
Once the pilot assembly is exposed, locate the orifice. It usually appears as a small brass fitting with a tiny hole. Using the correct wrench or screwdriver, carefully loosen and remove it. Avoid applying excessive force, as this may damage surrounding parts or distort the fitting.
If the orifice is simply clogged but not damaged, it can sometimes be cleaned with a fine wire or compressed air. However, replacement is the more reliable solution since cleaning may not restore the exact specifications required for safe operation. Inspect the surrounding pilot tube and burner system for additional buildup or wear while you are working in this area.
Installing the Replacement Orifice
Installing a new pilot orifice requires accuracy. The replacement part must match the stove’s make and model. Using an incompatible orifice could lead to incorrect gas flow, posing risks of underperformance or unsafe operation. Insert the new orifice into place, tightening it securely but not over-torquing. Manufacturers often specify torque ranges for fittings, and following these guidelines prevents thread damage.
After the orifice is installed, ensure the pilot tube aligns correctly and that no gaps exist where gas could leak. This is also an ideal moment to inspect seals and gaskets, replacing them if they show signs of deterioration.
Reassembling the Stove
Once the replacement orifice is fitted, reassemble the stove by reversing the disassembly steps. Replace the stove top, burner caps, and grates, tightening screws to the manufacturer’s specifications. Ensure all parts are secure, as loose components can interfere with proper ignition or cause rattling noises during use.
Testing the Repair
Before relighting, turn the gas supply back on and check for leaks around the replaced orifice and pilot assembly. A simple soapy water solution brushed onto the joints will reveal leaks through bubbling. If leaks are detected, turn the gas off immediately and refit the components.
Once the system is confirmed leak-free, ignite the pilot light. Observe the flame carefully. It should burn steady and blue, without flickering or yellow tips. Turn the stove burners on and off several times to ensure reliable ignition. A consistent, properly sized flame is confirmation that the new orifice is functioning as intended.
Common Mistakes to Avoid
A frequent mistake during this process is neglecting to match the replacement orifice exactly with the original. Slight differences in size or thread type may go unnoticed until performance issues or safety risks arise. Another common error is over-tightening the orifice, which can strip threads or crack the fitting.
Skipping leak checks is another dangerous oversight. Even a small gas leak can lead to serious consequences, so every connection must be tested after installation. Finally, some attempt to clean and reuse an old orifice when replacement is the safer and more effective solution.
When to Call a Professional
While many homeowners are capable of replacing a pilot orifice, not everyone is comfortable working with gas. If at any point during the process you feel uncertain, contacting a licensed technician is the safest choice. Professionals have the tools to test gas pressure, ensure proper combustion, and verify that all parts meet manufacturer standards.
This is especially important if your stove is under warranty, as unauthorized repairs may void coverage. Additionally, professional service is recommended if the problem persists after replacing the orifice, as other issues such as faulty regulators, pilot tubes, or control valves may be responsible.
Maintaining Your Gas Stove After Replacement
Replacing the pilot orifice is not only a repair but also a reminder that gas stoves require routine care. Regular cleaning of burners and pilot areas prevents buildup that can block gas flow. Inspecting the flame color periodically offers an easy way to monitor stove health. Ensuring proper ventilation in your kitchen also contributes to safe, efficient operation.
By combining good maintenance habits with prompt repairs, you extend the lifespan of your stove and ensure reliable performance.
The pilot orifice may be one of the smallest parts of a gas stove, but its role is vital. A damaged or clogged orifice disrupts ignition, wastes gas, and poses safety risks. Replacing it is a straightforward yet precise task that requires attention to safety, proper tools, and careful handling.
For those willing to follow safety procedures and detailed steps, this repair can be managed at home. However, professional assistance is always an option for anyone unsure about handling gas appliances. Either way, addressing a faulty pilot orifice ensures that your gas stove remains a dependable centerpiece of your kitchen, ready to deliver steady flames for years of cooking to come.
Stay updated with the latest appliance repair insights at Hafixer, where we provide expert guidance to help you handle common and advanced issues with confidence. Our detailed guides, including How to Replace Stove Pilot Orifice (in Gas Stoves), cover essential topics such as changing gas cooktop orifices and replacing commercial griddle pilots. Whether you’re a homeowner or a technician, our professionally crafted content ensures you understand the correct procedures, safety measures, and tools required for efficient gas appliance maintenance. Explore our blog regularly to gain practical knowledge and keep your kitchen appliances running safely and smoothly.


