A washing machine plays an essential role in daily life, saving time and effort with every load of laundry. However, like all mechanical devices, it can experience wear and tear over time. One of the most critical components that may need attention is the drive pulley. This part ensures that the drum spins properly during the washing and spinning cycles. When the pulley wears out, you might hear unusual noises, experience poor spinning, or notice that the drum does not rotate at all. Replacing a faulty drive pulley can restore your washing machine’s performance and extend its lifespan.
Understanding the Role of the Drive Pulley
The drive pulley is the central part of the washer’s drive system. It connects the drum to the motor through a drive belt and transfers rotational energy from the motor to the drum. When the motor runs, the belt moves along the pulley’s grooves, allowing the drum to spin. If the pulley becomes damaged, cracked, or misaligned, the drum loses its ability to rotate properly. This can cause vibration, loud sounds, or complete mechanical failure. Knowing how the drive pulley functions helps you understand why replacing it correctly is so important.
Common Signs of a Damaged Drive Pulley
When the drive pulley starts to wear out, the washer shows several symptoms. You may notice the drum failing to spin even though the motor is running. Sometimes, there are grinding or squealing noises during the spin cycle. The drum might also appear to wobble or spin unevenly, making it difficult for clothes to be washed or dried properly. In some cases, you might smell burning rubber caused by the belt slipping on a faulty pulley. These problems often indicate that the pulley needs replacement, especially if the drive belt is in good condition.
Preparing for the Replacement Process
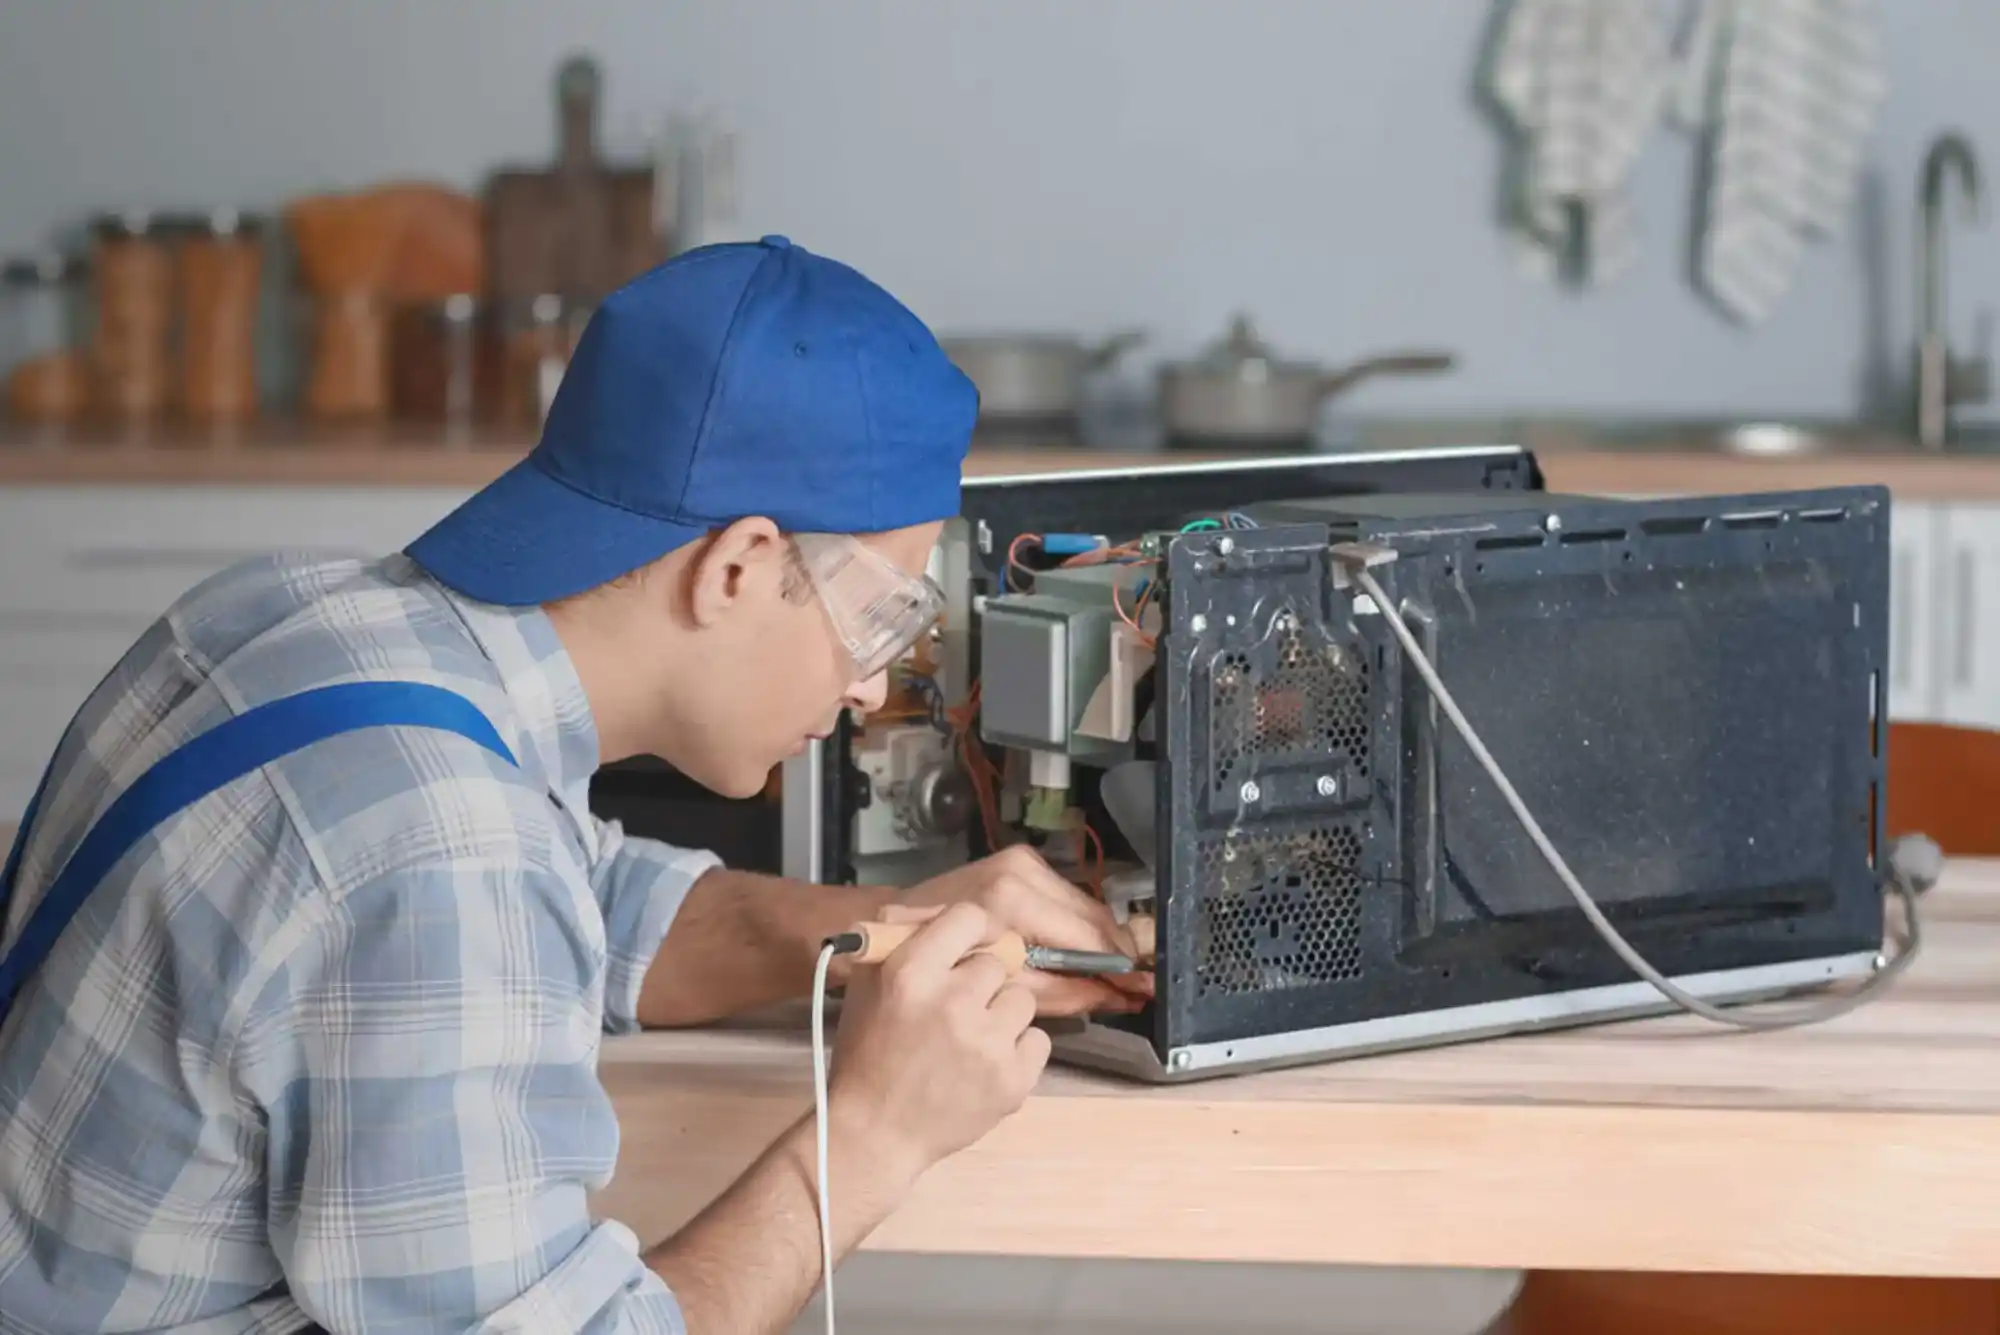
Before replacing the pulley, preparation is crucial for safety and efficiency. The first step is always to disconnect the washing machine repair from the power source. Turning off the water supply is also important to prevent any accidental leakage. The workspace should be clear, with enough room to move or tilt the washer if necessary. You’ll need basic tools such as a screwdriver, wrench, and pliers. Most importantly, you must have a replacement drive pulley that matches your washer’s model. Checking your user manual or model number before buying ensures the correct fit.
Locating the Drive Pulley
The location of the drive pulley varies depending on the type of washing machine. In a front-loading washer, the drive pulley is usually found at the back of the drum. Removing the rear access panel gives you direct access to the pulley and belt system. In a top-loading washer, the pulley is often positioned underneath the machine or connected to the transmission. You may need to tilt the washer carefully backward or remove the bottom panel to reach it. Always stabilize the machine before working to prevent it from moving or falling during the repair.
Removing the Old Drive Pulley
Once you have located the drive pulley, the first step is to remove the drive belt. Gently slide the belt off the pulley and set it aside. Examine the belt for any cracks or fraying; if it appears damaged, replacing it along with the pulley is recommended. The pulley itself is held in place by a central bolt or nut. Using the correct wrench, loosen the bolt and remove it carefully. Some washer models use reverse-threaded bolts, so make sure to turn them in the proper direction. After removing the bolt, pull the old pulley straight off the shaft. If it is stuck, you can tap it lightly with a rubber mallet, but avoid using excessive force to prevent damaging the shaft or bearings.
Inspecting the Shaft and Drum
After the old pulley is removed, it is essential to inspect the shaft and surrounding components. Look for signs of rust, corrosion, or damage. Dirt or residue left behind on the shaft can prevent the new pulley from fitting correctly. Use a clean cloth to wipe away any buildup. Ensuring a clean and smooth surface will help the new pulley sit properly, ensuring efficient performance once installed.
Installing the New Drive Pulley
Now that the old pulley is removed and the shaft is clean, it’s time to install the new pulley. Align the pulley correctly with the shaft and slide it into place. The new pulley should fit snugly and sit evenly against the drum or transmission. Insert the retaining bolt or nut and tighten it securely using the wrench. Be careful not to overtighten, as this can strip the threads or cause misalignment. Once the pulley is installed, place the drive belt back onto the pulley and motor wheel. Make sure the belt fits neatly into the grooves and maintains proper tension. Rotate the pulley manually to ensure the drum moves smoothly without resistance or uneven motion.
Reassembling the Washing Machine
Once the pulley and belt are properly aligned, reassemble the washer. Replace the back or bottom panel and secure it with screws. Reconnect the water hoses and plug the washer back into the electrical outlet. Before washing clothes again, it’s important to test the machine. Run an empty spin cycle and observe its operation. The drum should spin freely, and there should be no grinding or rattling sounds. The movement should be steady, and the belt should stay in place during the cycle.
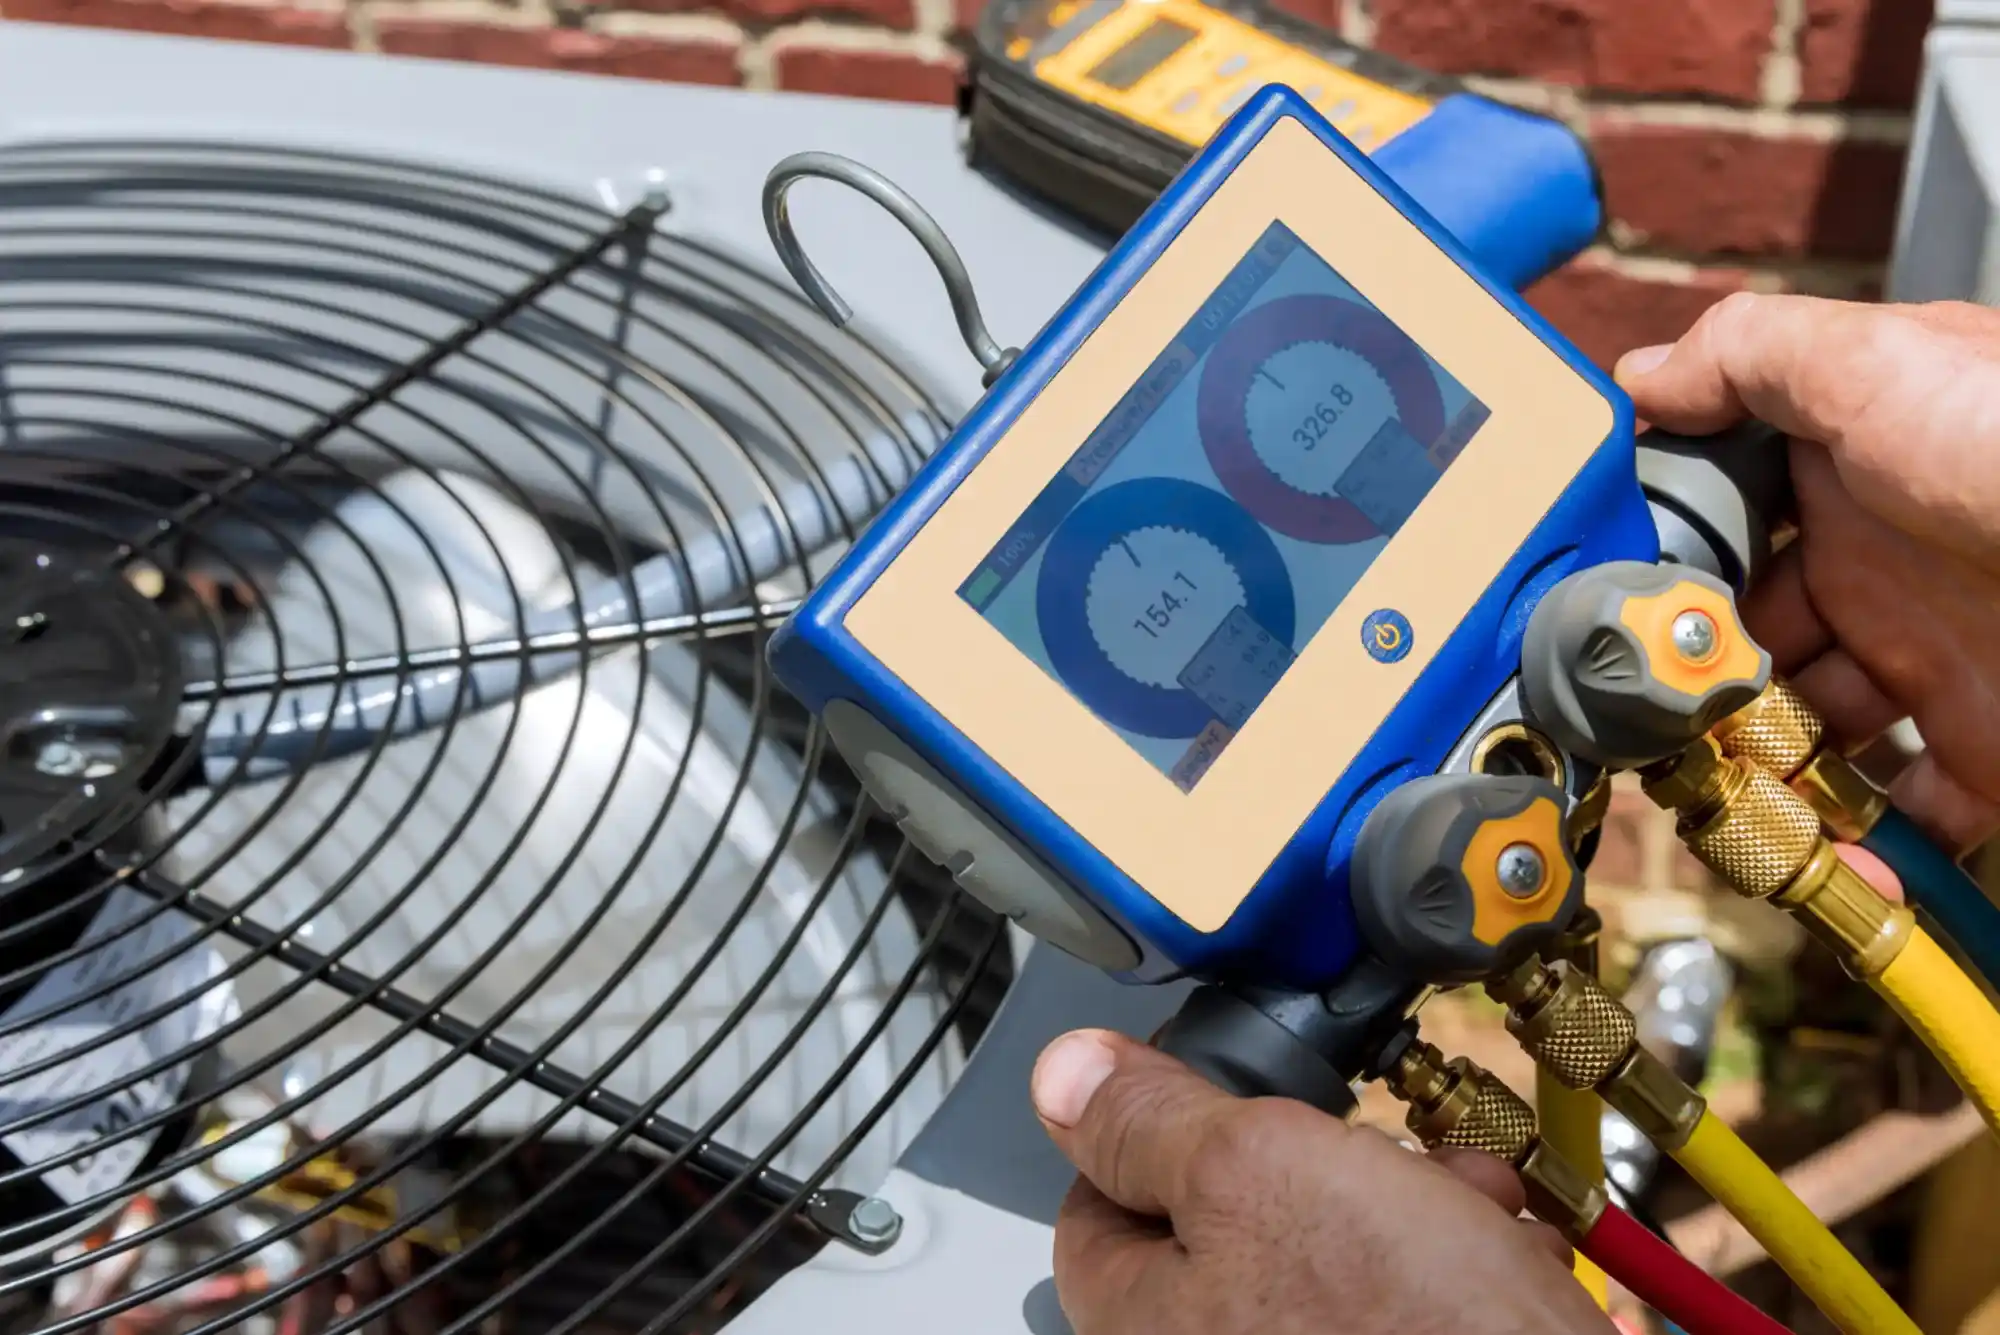
Welcome to Hafixer, your trusted destination for professional home appliance repair solutions in Dubai. We specialize in delivering high-quality and reliable services to ensure your appliances work efficiently and last longer. Our expert technicians provide comprehensive solutions under our washing machine repair service, covering everything from minor faults to complex mechanical issues with precision and care.
Stay updated with our latest blog category, where we share expert guides and repair insights such as How to Replace Washing Machine Drive Pulley, Home Appliance Repairing Service in Dubai, Electrolux Washing Machine Drive Pulley Replacement, and How to Replace a Washing Machine Drum Pulley Wheel. Our content is designed to help users understand appliance problems and make informed decisions while promoting professional repair solutions for long-term performance.
Mistakes to Avoid During the Replacement
Replacing a drive pulley requires attention to detail. Some people forget to unplug the machine before starting, which can lead to electric shock. Others use an incorrect pulley model, which affects alignment and belt stability. Over-tightening or under-tightening the pulley bolt can also create balance issues. Another common mistake is skipping the test cycle after reassembly. Testing ensures that the pulley, belt, and drum are properly synchronized and that there are no further issues.
Benefits of Replacing a Faulty Drive Pulley
Replacing a faulty pulley offers multiple advantages. It restores the washer’s original performance, eliminates noise and vibration, and ensures smooth drum rotation. A properly functioning pulley reduces strain on the motor and belt, preventing future damage. This simple replacement can make the entire washing process more efficient, saving energy and water while improving cleaning results. In addition, timely maintenance of mechanical components like the pulley extends the lifespan of the entire machine, helping you avoid expensive repairs or replacements later.
When to Seek Professional Assistance
Although many homeowners can handle a pulley replacement with basic tools, there are times when calling a professional is the safest choice. If you notice that the drum shaft is bent, corroded, or not rotating freely, it’s best to consult a qualified technician. A professional appliance repair expert can inspect other parts, such as bearings and the motor, to ensure there are no hidden issues. Attempting to fix complex mechanical problems without proper experience can cause further damage to the washer. Professionals also use specialized tools that make the repair process quicker and safer.
Maintaining the Drive System After Replacement
Once the new pulley is installed, maintaining the drive system becomes essential to avoid future problems. Keeping the pulley and belt area clean helps prevent dust and residue buildup, which can reduce performance. It’s important to check the belt’s condition periodically to ensure proper tension and alignment. Overloading the washer with heavy items can strain the drum and pulley system, so always follow the manufacturer’s load recommendations. Using the correct amount of detergent and selecting the right wash settings also contributes to smoother and longer-lasting operation.
The drive pulley is one of the most important components of a washing machine. When it becomes damaged or misaligned, it can cause the washer to lose efficiency, create loud noises, or stop spinning altogether. Understanding how to replace the washing machine drive pulley empowers homeowners to handle one of the most common mechanical issues in household appliances. With patience, the right tools, and careful attention to each step, you can restore your machine’s performance and extend its life.