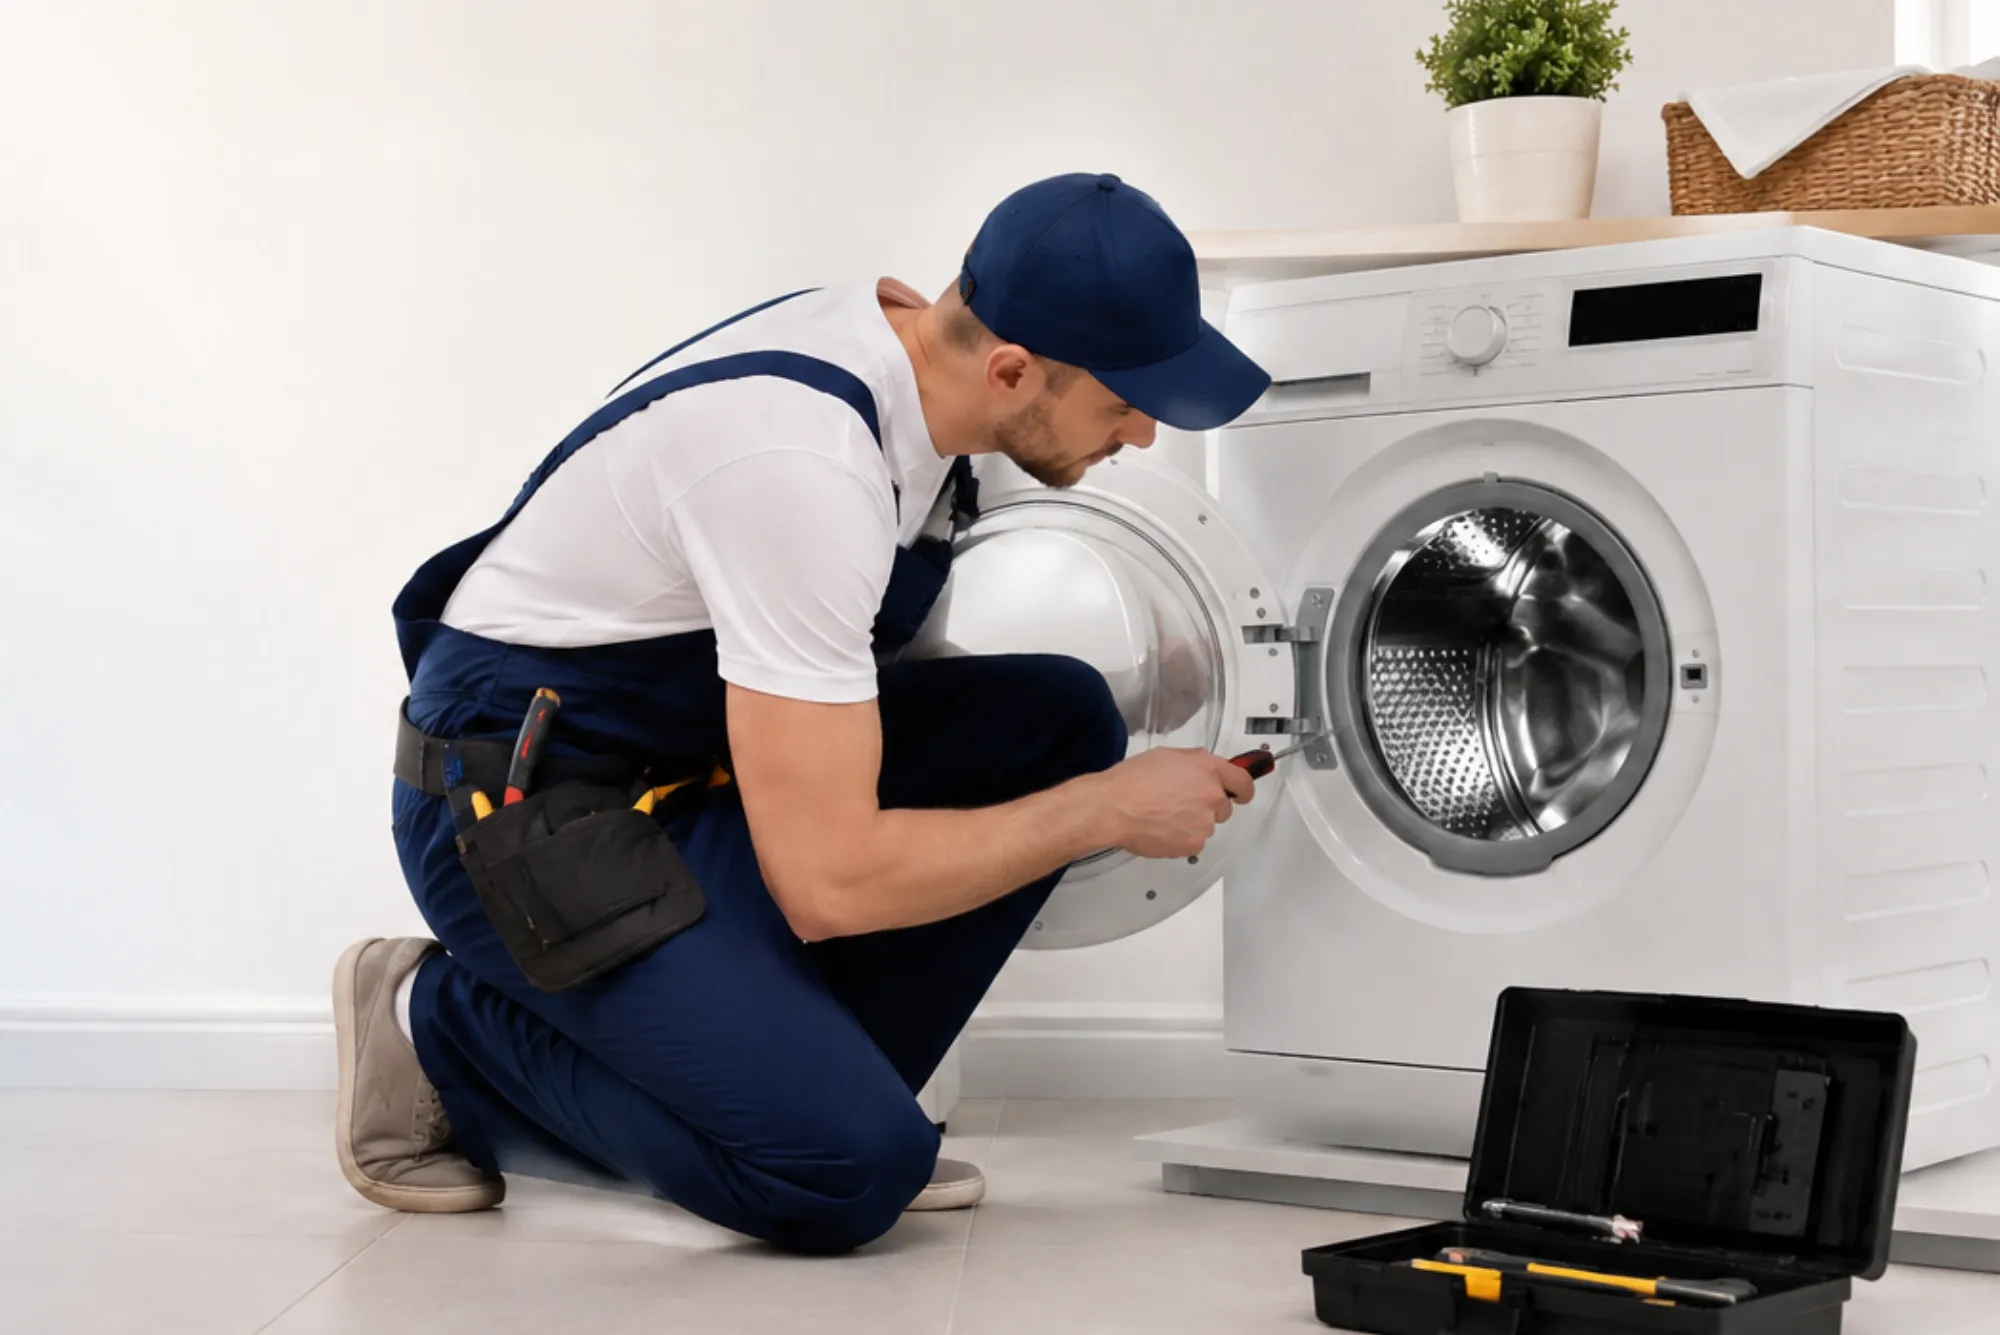
A dishwasher is one of the most reliable kitchen appliances, designed to handle daily cleaning tasks with efficiency. While it may look simple from the outside, the internal components work together to regulate water levels, heat cycles, and wash performance. One critical yet often overlooked part is the dishwasher float assembly. This small device plays a big role in preventing overflow by controlling the amount of water that enters the appliance. When the float assembly fails, it can lead to issues such as flooding, poor washing, or even complete malfunction. Understanding how to identify, troubleshoot, and replace a faulty float assembly can save both money and frustration.
In this comprehensive guide, we will cover everything you need to know about the float assembly, its importance, signs of damage, and the detailed process of replacement.
Understanding the Dishwasher Float Assembly
The float assembly acts as a sensor for water levels inside the dishwasher. Typically located at the bottom of the dishwasher tub, it is a small, dome-shaped device that rises as water fills the machine. When the float reaches a certain level, it signals the water inlet valve to stop the flow of water. Without this mechanism, a dishwasher could easily overflow, causing leaks and potential water damage to your kitchen floor.
The float assembly works hand in hand with the float switch, a small electrical component that responds to the float’s position. Together, they regulate water levels to maintain safe operation and proper cleaning efficiency.
Common Signs of a Faulty Float Assembly
A malfunctioning float assembly can cause various issues. One of the most obvious symptoms is dishwasher flooding. If too much water enters the machine, it may leak from the door or create standing water at the bottom after a cycle. On the other hand, if the float is stuck in the upward position, the dishwasher may not fill with enough water, leading to poor cleaning results.
Other signs include unusual sounds during the fill cycle, water supply not shutting off, or cycles that stop midway due to incorrect water levels. In many cases, the float itself can get dirty, clogged with detergent residue, or jammed with food particles. Sometimes, the issue lies in the float switch rather than the float itself, but replacing both components together is often recommended for long-term reliability.
Preparing to Replace the Float Assembly
Before replacing the dishwasher float assembly, safety should be the top priority. Always disconnect the appliance from the power source to avoid electrical hazards. Additionally, turn off the water supply to the dishwasher to prevent leaks during the process. Having the right tools and replacement parts on hand will make the job smoother. A standard toolkit including a screwdriver, pliers, and possibly a nut driver is usually sufficient.
It is also important to ensure that you purchase the correct replacement part. Dishwasher float assemblies differ between brands and models, so checking your appliance’s manual or model number before buying the part will help avoid compatibility issues.
Step-by-Step Guide to Replacing a Dishwasher Float Assembly
Replacing the float assembly is a manageable task for anyone with basic repair skills. The process usually involves accessing the float from inside the dishwasher tub, removing the defective part, and installing the new assembly.
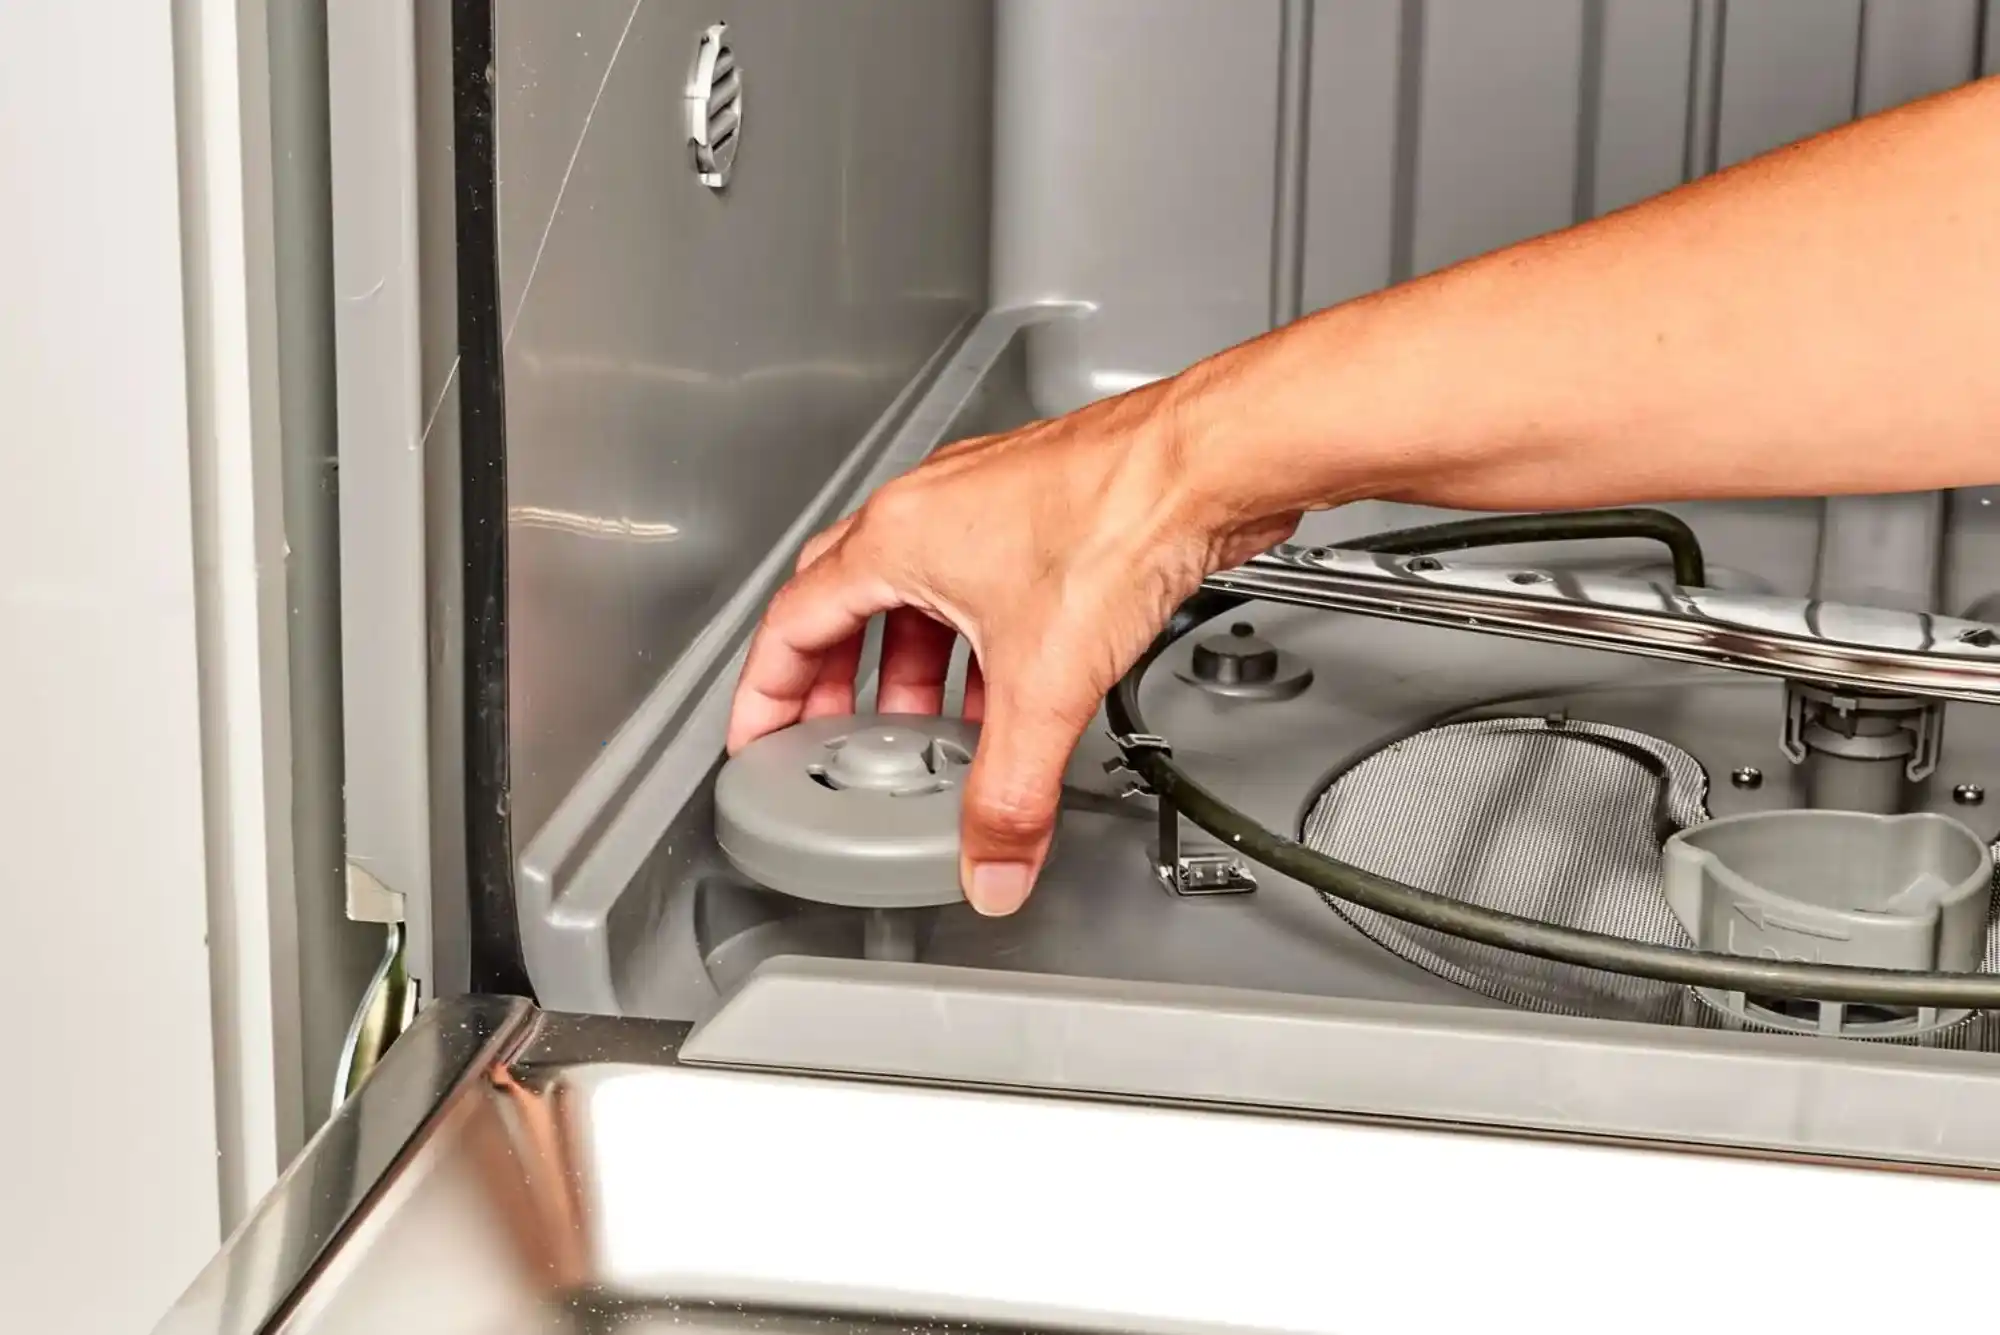
First, open the dishwasher door and locate the float assembly at the bottom of the tub. It often looks like a small plastic dome or cylinder that can move up and down. Lift the float to ensure it moves freely; if it feels stuck, that may confirm the problem. To remove it, pull the float upward gently. In most models, it simply slides out of its housing, but some may have a retaining clip or screw that needs to be loosened.
Once the float is removed, inspect the float switch underneath the dishwasher. This switch is usually mounted beneath the tub and connected to the float mechanism. If the switch appears damaged, corroded, or unresponsive, it should also be replaced. Disconnect any wiring harnesses carefully and remove mounting screws before swapping in the new switch.
Next, install the new float assembly by aligning it with the opening and lowering it into place. Ensure that it moves up and down smoothly without sticking. Reconnect any electrical connectors and resecure mounting screws if needed. After everything is installed, turn the water supply back on and plug the dishwasher into the power source. Run a short test cycle to confirm that the float assembly regulates water levels properly and that no leaks occur.
Troubleshooting After Replacement
Even after replacing the float assembly, some dishwashers may continue to show signs of irregular water levels. In such cases, additional troubleshooting is necessary. The problem may lie in the water inlet valve, which controls the actual flow of water into the appliance. If the valve is stuck open, it could override the float assembly’s function, causing overflow. Alternatively, blocked filters or clogged spray arms could mimic symptoms of low water levels.
Performing a test cycle while observing the dishwasher closely will help determine if further repairs are needed. In many situations, replacing the float assembly resolves the issue entirely. However, if water control problems persist, contacting a professional appliance repair technician may be the best course of action.
Importance of Professional Help
While replacing a dishwasher float assembly is not overly complicated, not everyone is comfortable handling appliance repairs. Incorrect installation could lead to leaks, electrical hazards, or further damage to the dishwasher. Professional technicians not only bring experience but also carry the right tools and replacement parts to complete the job safely and efficiently.
Hiring a professional also ensures that any underlying issues, such as wiring faults or water valve malfunctions, are diagnosed and repaired correctly. This can extend the life of the appliance and prevent costly damage in the future.
Maintaining a Dishwasher for Longevity
Replacing a float assembly is often necessary after years of regular use, but proper maintenance can reduce the likelihood of failure. Cleaning the dishwasher regularly, removing debris from the bottom, and avoiding overloading the racks can all help maintain proper water flow. Additionally, running a dishwasher cleaner or vinegar cycle occasionally helps remove mineral buildup that could affect the float’s movement.
Checking the float assembly during routine cleaning is a good habit. Simply lifting it to ensure it moves freely can prevent unexpected problems. Addressing small issues early will always be easier and less expensive than dealing with major repairs later on.
Final Thoughts
The dishwasher float assembly may be a small component, but its role in regulating water levels is essential for safe and efficient operation. Recognizing the symptoms of a faulty float, preparing properly for replacement, and following the correct installation steps can restore your dishwasher’s performance and prevent water-related damage. For those confident in their DIY skills, replacing the float assembly can be a rewarding and cost-saving project. For others, seeking professional appliance repair ensures the job is done correctly and safely.