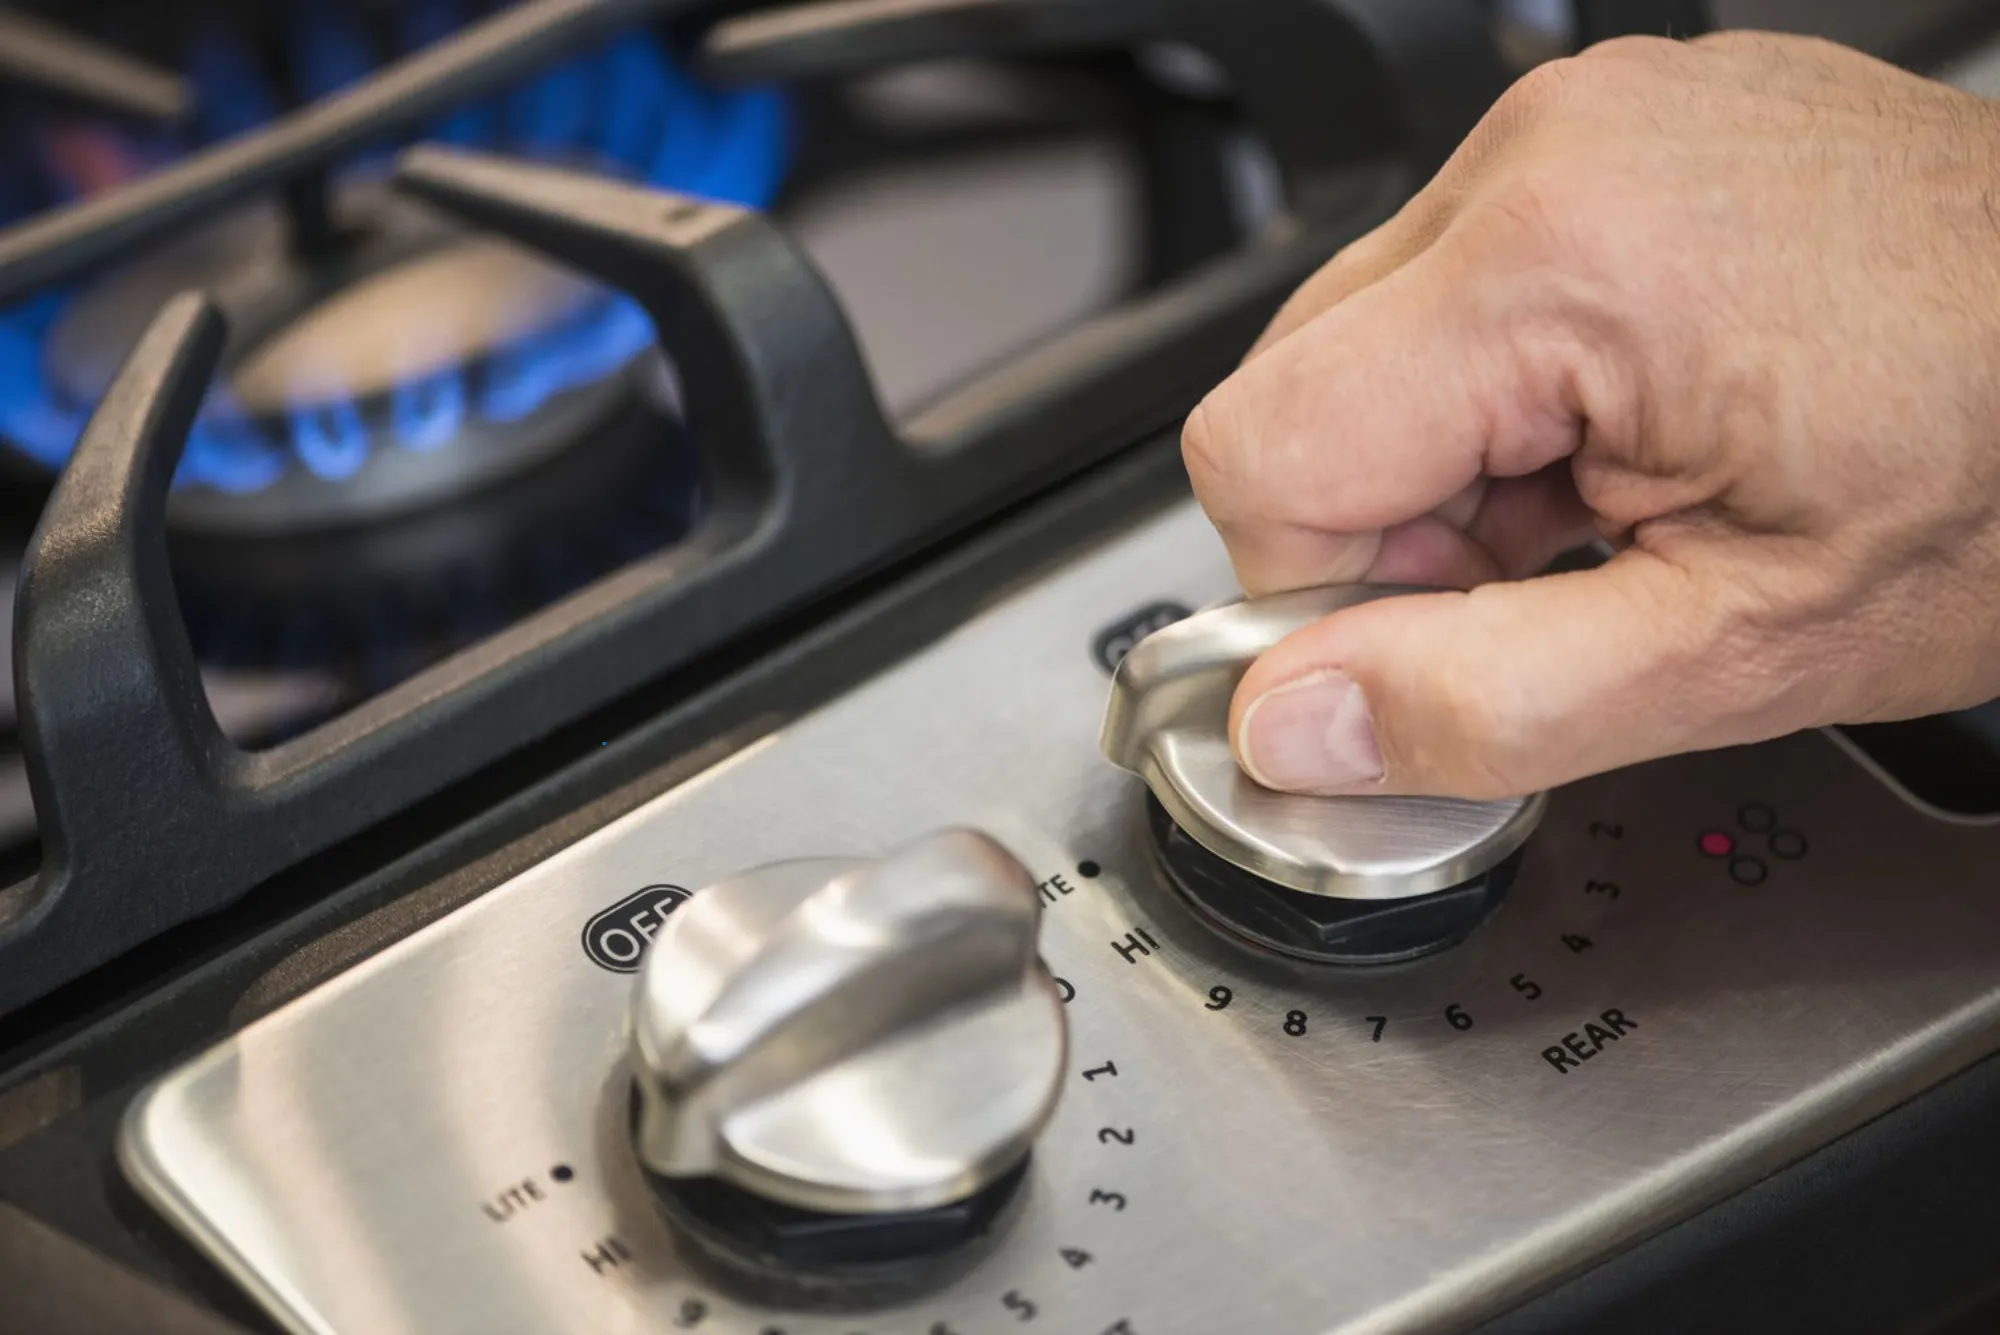
Modern kitchens blend functionality with style, and among the essential components of this harmony is the stove. Whether you rely on a gas or electric range, the knobs on your stove play a critical role. They regulate temperature, activate burners, and provide a tactile connection between user and appliance. Yet, for all their importance, stove knobs are surprisingly fragile. They are exposed to heat, oil, constant turning, and sometimes rough handling, which makes them one of the most common stove parts to break.
When a knob becomes loose, cracks, or falls off entirely, many people panic or assume they must call in a professional. In reality, replacing a stove knob is not only straightforward but also safe when approached with care and preparation. This article provides an in-depth look at how to replace a stove knob safely, why it matters, and the precautions you should keep in mind while handling this simple yet vital repair.
Why Stove Knobs Fail Over Time
Understanding why stove knobs fail helps homeowners prevent repeated issues. Knobs are usually made of plastic, metal, or a combination of the two. Plastic versions, while inexpensive, can warp from heat exposure or crack if forced too hard. Metal knobs, although stronger, may loosen from the stem over years of use. Grease buildup and dirt can also interfere with the mechanism, causing the knob to slip.
Another common cause is mishandling. Sometimes users attempt to force the knob beyond its natural turning range, causing damage to both the knob and the control stem. Even cleaning methods can play a role; harsh chemicals corrode surfaces, making knobs brittle. The end result is the same: a knob that no longer performs its function effectively, leaving you with less control over your stove.
Safety Considerations Before Replacement
Replacing a stove knob might appear simple, but safety must always come first. The stove is an appliance that deals with heat, gas, and electricity, making careless handling potentially dangerous. Before attempting any replacement, ensure the stove is completely turned off. For gas stoves, double-check that the gas supply is not active. In electric models, switch off the power supply or unplug the appliance.
Gloves can provide additional protection against sharp edges or lingering residue on the stove surface. If your stove has recently been used, wait until the burners and the surrounding area are completely cool to avoid burns. Establishing this safe working environment ensures the replacement process remains straightforward and risk-free.
Identifying the Correct Replacement Knob
Not all knobs are universal. Selecting the correct replacement part is essential for both functionality and safety. Start by checking your stove’s brand and model number. This information is usually located on a label inside the oven door frame, on the back of the appliance, or in the user manual. With these details, you can order the exact knob designed for your appliance.
In some cases, generic knobs are available. While they can fit multiple stove models, they may not align perfectly with your control stem or may lack the heat resistance of original manufacturer parts. Choosing original equipment manufacturer (OEM) knobs is always the safest option, as they are engineered specifically for your appliance’s design and safety standards.
Preparing the Stove for Knob Replacement
Once you have the correct replacement knob, preparation is key. Clean the area around the control panel where the knob will be fitted. Residual grease or debris can prevent the new knob from sitting properly on the stem. A soft cloth with mild soap and water is usually enough for cleaning, but ensure the area is completely dry before proceeding.
If the old knob is still partially attached, gently remove it by pulling it straight out. Avoid twisting or prying it at odd angles, as this can damage the control stem. In some cases, the knob may be stuck due to grime. A light wiggle while pulling usually frees it, but patience is crucial here to avoid breaking the stem.
Fitting the New Knob Securely
Installing the new knob involves aligning it carefully with the control stem. Most stove knobs are designed with a D-shaped or slotted opening that fits snugly over the stem. Match the shapes, press the knob firmly into place, and check for smooth rotation. It should turn without resistance but also without feeling loose.
Once fitted, test the knob by turning it through its full range without powering on the stove. This check ensures it moves freely and that the markings on the knob align correctly with the control panel indicators. Misalignment could lead to inaccurate heat settings, which may compromise cooking performance or even cause safety risks.
Testing the Knob with the Appliance
After confirming the knob is securely in place, test it under real conditions. Restore power or reopen the gas supply and carefully turn the burner on and off. Observe whether the flame or heat adjusts correctly in response to your movements. The knob should feel steady, without slipping or wobbling.
If you notice any irregularities, such as uneven flame adjustment or unexpected looseness, double-check that the knob is properly seated on the stem. Persistent issues may indicate that the stem itself is worn out, in which case professional assistance may be required.
Maintaining Stove Knobs for Longevity
Prevention is always better than repair. To ensure your new knob lasts as long as possible, handle it with care. Turn knobs gently without forcing them past their natural limit. Clean them regularly with a damp cloth to prevent grease buildup, but avoid abrasive chemicals that can weaken the material.
If your stove allows, remove the knobs periodically for deeper cleaning. Soaking them in warm, soapy water removes hidden dirt, but ensure they are completely dry before reattaching them. This simple maintenance routine helps keep both the knobs and control stems in good condition, extending their lifespan and ensuring reliable performance.
When to Call a Professional
While replacing a stove knob is usually a straightforward task, there are circumstances where professional intervention becomes necessary. If the control stem is bent, broken, or recessed into the stove panel, replacement may involve disassembling the control system. Similarly, if the new knob does not respond as expected even after careful installation, the problem could lie deeper within the appliance.
Gas stoves require additional caution. Any issue involving gas flow, such as a loose control valve connected to the knob stem, poses a safety hazard and should never be handled by an untrained individual. In such cases, contacting a certified technician ensures both your safety and the long-term reliability of your appliance.
The Value of Handling Small Repairs Yourself
Being able to replace a stove knob independently saves time, money, and frustration. Rather than waiting for service calls or replacing the entire appliance, this small repair restores full control in minutes. It also provides a sense of empowerment, reminding homeowners that not every appliance issue requires professional intervention.
Moreover, learning to carry out safe, minor repairs cultivates a proactive approach to appliance care. By recognizing and addressing small issues early, you prevent them from escalating into major malfunctions that demand costly repairs or replacements.
Final Thoughts on Stove Knob Replacement
A broken stove knob might seem trivial, but it impacts the convenience and safety of your cooking routine. Fortunately, replacing it is one of the simplest appliance repairs you can perform at home. By ensuring safety first, selecting the right replacement part, and installing it carefully, you can restore your stove’s full functionality quickly and with confidence.
What appears at first as a small inconvenience ultimately becomes an opportunity to understand your appliance better. With thoughtful maintenance and occasional hands-on care, your stove can continue serving your household efficiently for many years to come.