Why the Dishwasher Solenoid is Important
A dishwasher is one of the most essential appliances in modern homes, ensuring that families enjoy spotless dishes without spending hours scrubbing at the sink. Like any appliance, however, dishwashers can experience mechanical failures over time. One of the components that often goes unnoticed but is crucial to smooth operation is the solenoid. The dishwasher solenoid is a small yet powerful device responsible for regulating the water flow and controlling the draining system. When it fails, the appliance may no longer fill or drain correctly, leading to dirty dishes or standing water inside the tub. Learning how to replace a dishwasher solenoid can be a cost-effective solution that saves time and extends the life of your appliance.
How the Solenoid Functions in a Dishwasher
The solenoid works as an electrically controlled valve. When activated by the control board, it opens or closes to allow water to flow into the machine or exit through the drain. Its performance directly impacts the efficiency of each cycle. A malfunctioning solenoid can quickly disrupt the normal operation of the dishwasher, leaving dishes dirty or even causing water to remain inside the tub after a wash cycle. Understanding the role of this component is the first step toward diagnosing and resolving the issue.
Symptoms of a Faulty Solenoid
A faulty solenoid often reveals itself through specific signs. If the dishwasher fails to fill with water even though it is connected to a working supply, the solenoid may be stuck or burned out. Another common symptom is standing water at the bottom of the tub once the cycle has finished. Some machines may produce loud buzzing or clicking sounds when the solenoid attempts to activate but cannot complete the action. In other cases, the dishwasher may operate inconsistently, working fine during one cycle and failing the next. Occasionally, a burnt smell or visible damage near the solenoid assembly provides a clear indication of failure.
Preparing for the Replacement
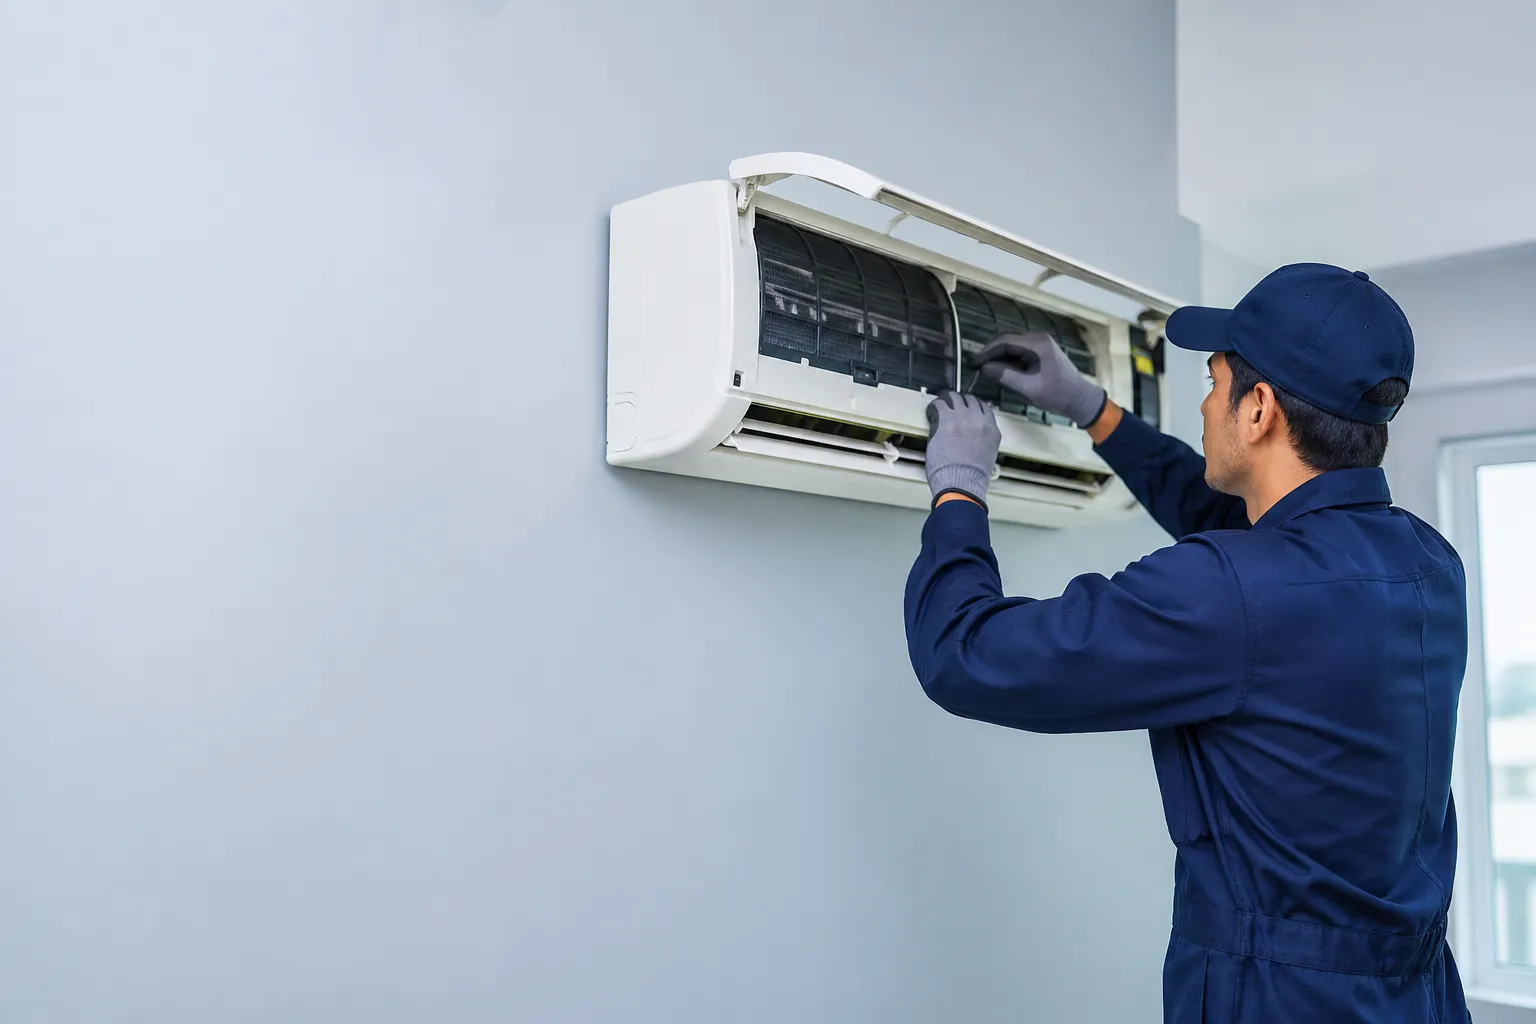
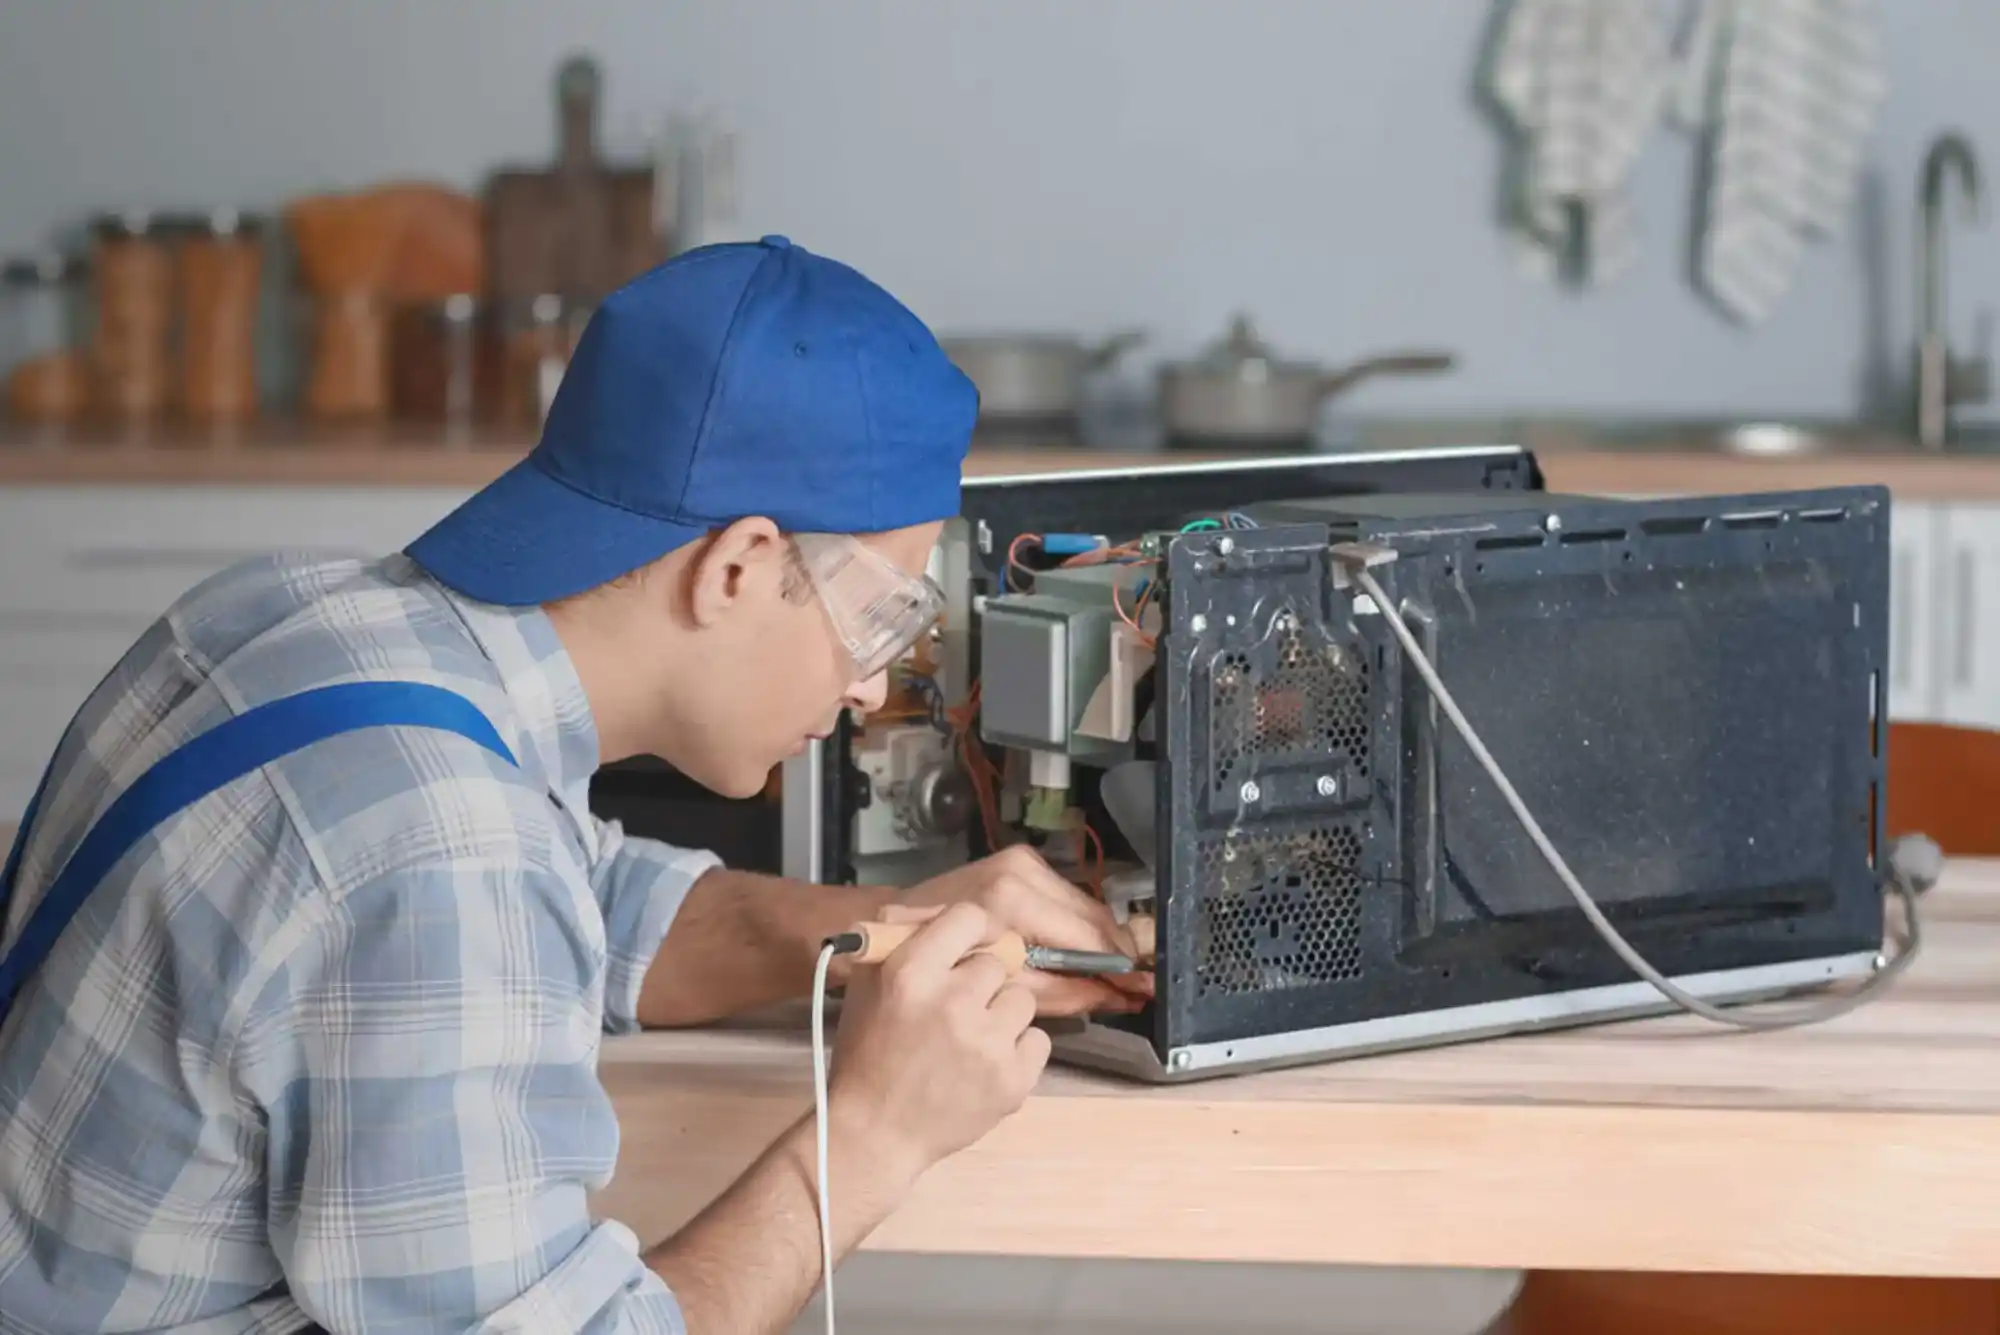
Once it has been determined that the solenoid is the problem, preparation becomes the next important step. Before starting, the dishwasher should always be disconnected from its power source to prevent electrical hazards. The water supply should also be turned off. Having the right tools available makes the job much easier. Screwdrivers, pliers, a wrench, and a multimeter are typically required. It is equally important to purchase a compatible replacement solenoid designed for the specific dishwasher model. A clean workspace is recommended, along with towels or a shallow container placed beneath the appliance to catch any water that may escape during the repair.
Step-by-Step Replacement Process
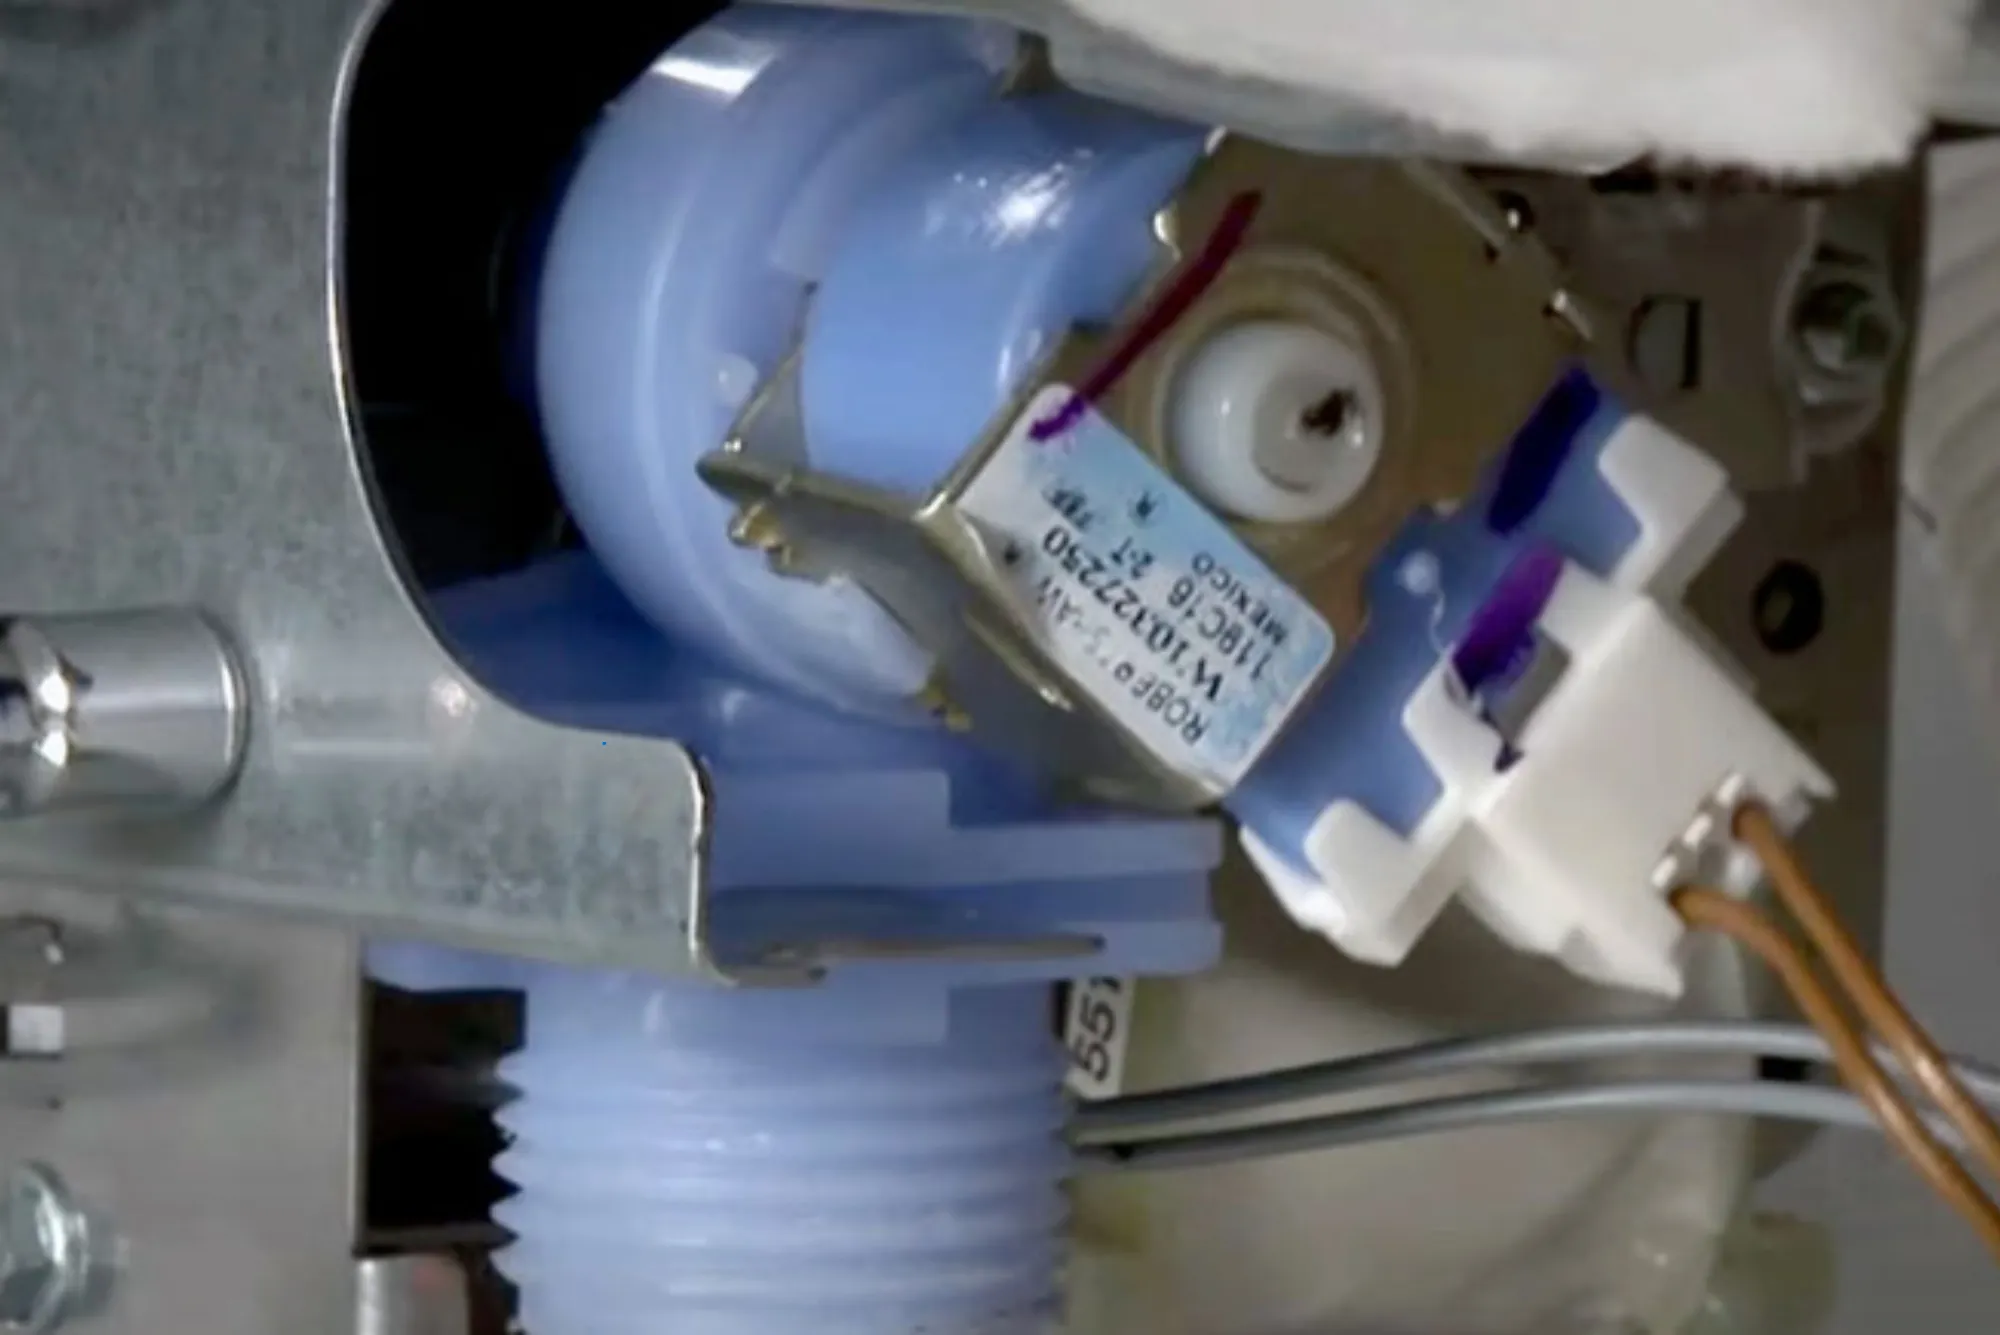
The process of replacing the solenoid begins by carefully moving the dishwasher forward to create enough space to work. The lower access panel, usually found at the front bottom of the machine, must be removed by loosening a few screws. With the panel off, the solenoid assembly, connected either to the drain valve or water inlet system, becomes visible. At this stage, it is advisable to confirm that the solenoid is faulty before proceeding. A multimeter can be used to test for continuity across the solenoid terminals. If the reading indicates no continuity or infinite resistance, replacement is necessary.
After diagnosis, the faulty solenoid can be removed. The electrical connectors should be carefully detached, taking note of their placement to ensure proper reassembly later. Depending on the model, clips, brackets, or screws may need to be loosened before the solenoid can be released. Once removed, the defective part should be set aside and disposed of according to local guidelines for electronic waste.
Installing the new solenoid requires precision. The replacement must be positioned exactly where the old one was located. It should be secured using the appropriate screws or clips, making sure it is aligned properly. The electrical wires should be reconnected firmly to the terminals, ensuring there are no loose connections. Once everything is back in place, the access panel can be reattached, and the dishwasher carefully pushed back into its position. Restoring power and turning on the water supply allows for a test cycle. Running a short wash helps confirm whether the solenoid is functioning correctly. If the machine fills and drains as expected without unusual noises or leaks, the repair has been successful.
Important Safety Considerations
Throughout the replacement process, safety must remain a priority. Dishwashers are electrical appliances, and even small mistakes can lead to shock or further damage. The machine should never be serviced while plugged in, and work should not be attempted in damp or wet conditions. Using insulated tools helps minimize risk, and forcing components into place should be avoided to prevent breakage.
When to Choose Professional Help
Although replacing a solenoid is manageable for individuals with some technical skills, it may not be the right task for everyone. Those who are unfamiliar with appliance mechanics or feel uncertain during the repair process should consider hiring a professional technician. An expert not only installs the new solenoid correctly but can also check for other potential issues, such as wiring faults, clogged hoses, or control board problems. Choosing professional service often provides peace of mind and prevents repeated breakdowns.
Advantages of Timely Solenoid Replacement
Replacing a faulty solenoid at the right time offers many advantages. It restores the dishwasher’s ability to fill and drain water correctly, leading to cleaner dishes and smoother operation. It also helps prevent problems such as water leakage, which can cause damage to kitchen floors or surrounding cabinetry. By ensuring the dishwasher runs properly, the solenoid replacement also reduces strain on other components such as pumps and motors, ultimately extending the overall lifespan of the appliance.
Maintaining Your Dishwasher After Replacement
After replacing the solenoid, proper maintenance is essential for long-term performance. Regular cleaning of the dishwasher filters, inspecting the drain hose for clogs, checking the door seals for wear, and occasionally running cleaning cycles all help maintain efficiency. Using the correct detergent and avoiding overloading the dishwasher also make a noticeable difference in performance. With consistent care, the newly installed solenoid and the entire dishwasher will continue to function reliably for years.
Final Thoughts
In conclusion, knowing how to replace a dishwasher solenoid empowers homeowners to take control of a common repair issue. The solenoid may be small, but it plays a vital role in the appliance’s ability to clean and drain effectively. By carefully following the right steps, preparing with the correct tools, and observing safety precautions, the repair can be completed successfully. For those who prefer to avoid the risks and ensure professional accuracy, hiring a qualified technician is always a smart choice. Whichever approach is taken, addressing the problem promptly guarantees better performance, cleaner dishes, and a longer-lasting dishwasher.