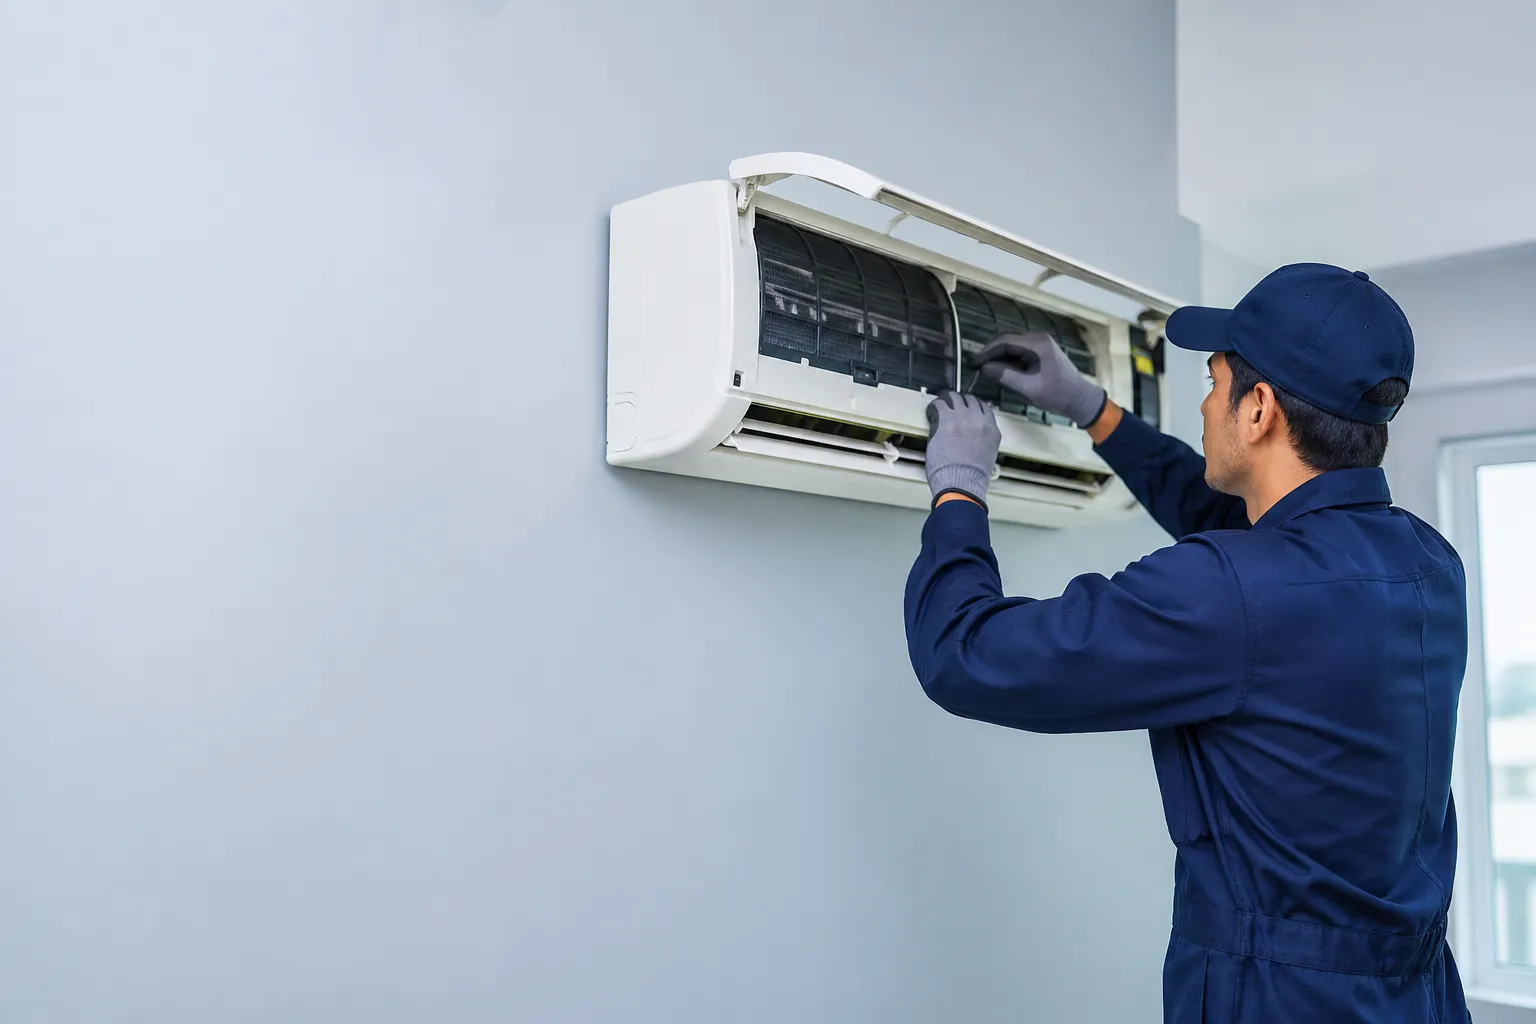
Why Burner Switch Testing Matters
In every household, the stove is one of the most frequently used kitchen appliances. Whether it runs on electricity or gas, it provides the essential heat needed to prepare daily meals. Within an electric stove, one component plays a particularly important role in regulating cooking temperatures—the burner switch. This switch manages the flow of electricity to the burner, allowing the heating element to glow hot or remain cool depending on user settings. Over time, however, these switches can fail. When they do, burners may stop heating, heat unevenly, or stay on continuously, all of which can affect cooking performance and safety.
Knowing how to test stove burner switches not only saves money on unnecessary replacements but also ensures your kitchen remains a safe and functional environment. Understanding this process requires some knowledge of electrical components, safety precautions, and systematic troubleshooting methods.
Understanding the Role of the Burner Switch
A burner switch, often called an infinite switch, controls the amount of electrical power supplied to the heating element of an electric stove. Unlike a simple on-off switch, it adjusts power output continuously, which allows you to simmer, boil, or warm food depending on the chosen setting.
When a burner switch fails, symptoms can range from a burner not heating at all to overheating regardless of settings. This malfunction occurs because the switch no longer regulates voltage properly. For anyone attempting to test the component, recognizing the signs of switch failure is the first step toward diagnosis.
Signs That a Burner Switch May Be Faulty
Before beginning any technical test, it is important to recognize observable issues that may suggest a defective switch. A burner that stays cold despite being turned on, one that overheats even on low settings, or inconsistent heating behavior are common red flags. In some cases, you may also hear buzzing sounds or notice unusual smells when the switch is engaged. These symptoms suggest internal wear, arcing, or damaged electrical contacts within the switch.
Identifying these signs not only justifies further testing but also prevents unnecessary removal of other components such as heating elements or wiring harnesses that may not be at fault.
Essential Safety Precautions Before Testing
Working with electrical appliances always carries risks, especially when dealing with components that conduct high levels of current. Before testing a stove burner switch, strict safety steps must be followed.
Always disconnect the appliance from its power source by unplugging it or switching off the breaker. Simply turning off the stove knobs does not eliminate live current, and attempting to test a switch without removing power can result in serious injury or electrical shock.
Additionally, prepare a clear workspace free from liquids or conductive materials. Wearing insulated gloves and safety glasses adds another layer of protection. Proper lighting is also important, ensuring visibility of screws, terminals, and wiring connections. With safety in place, testing can proceed confidently and methodically.
Tools Required for Accurate Testing
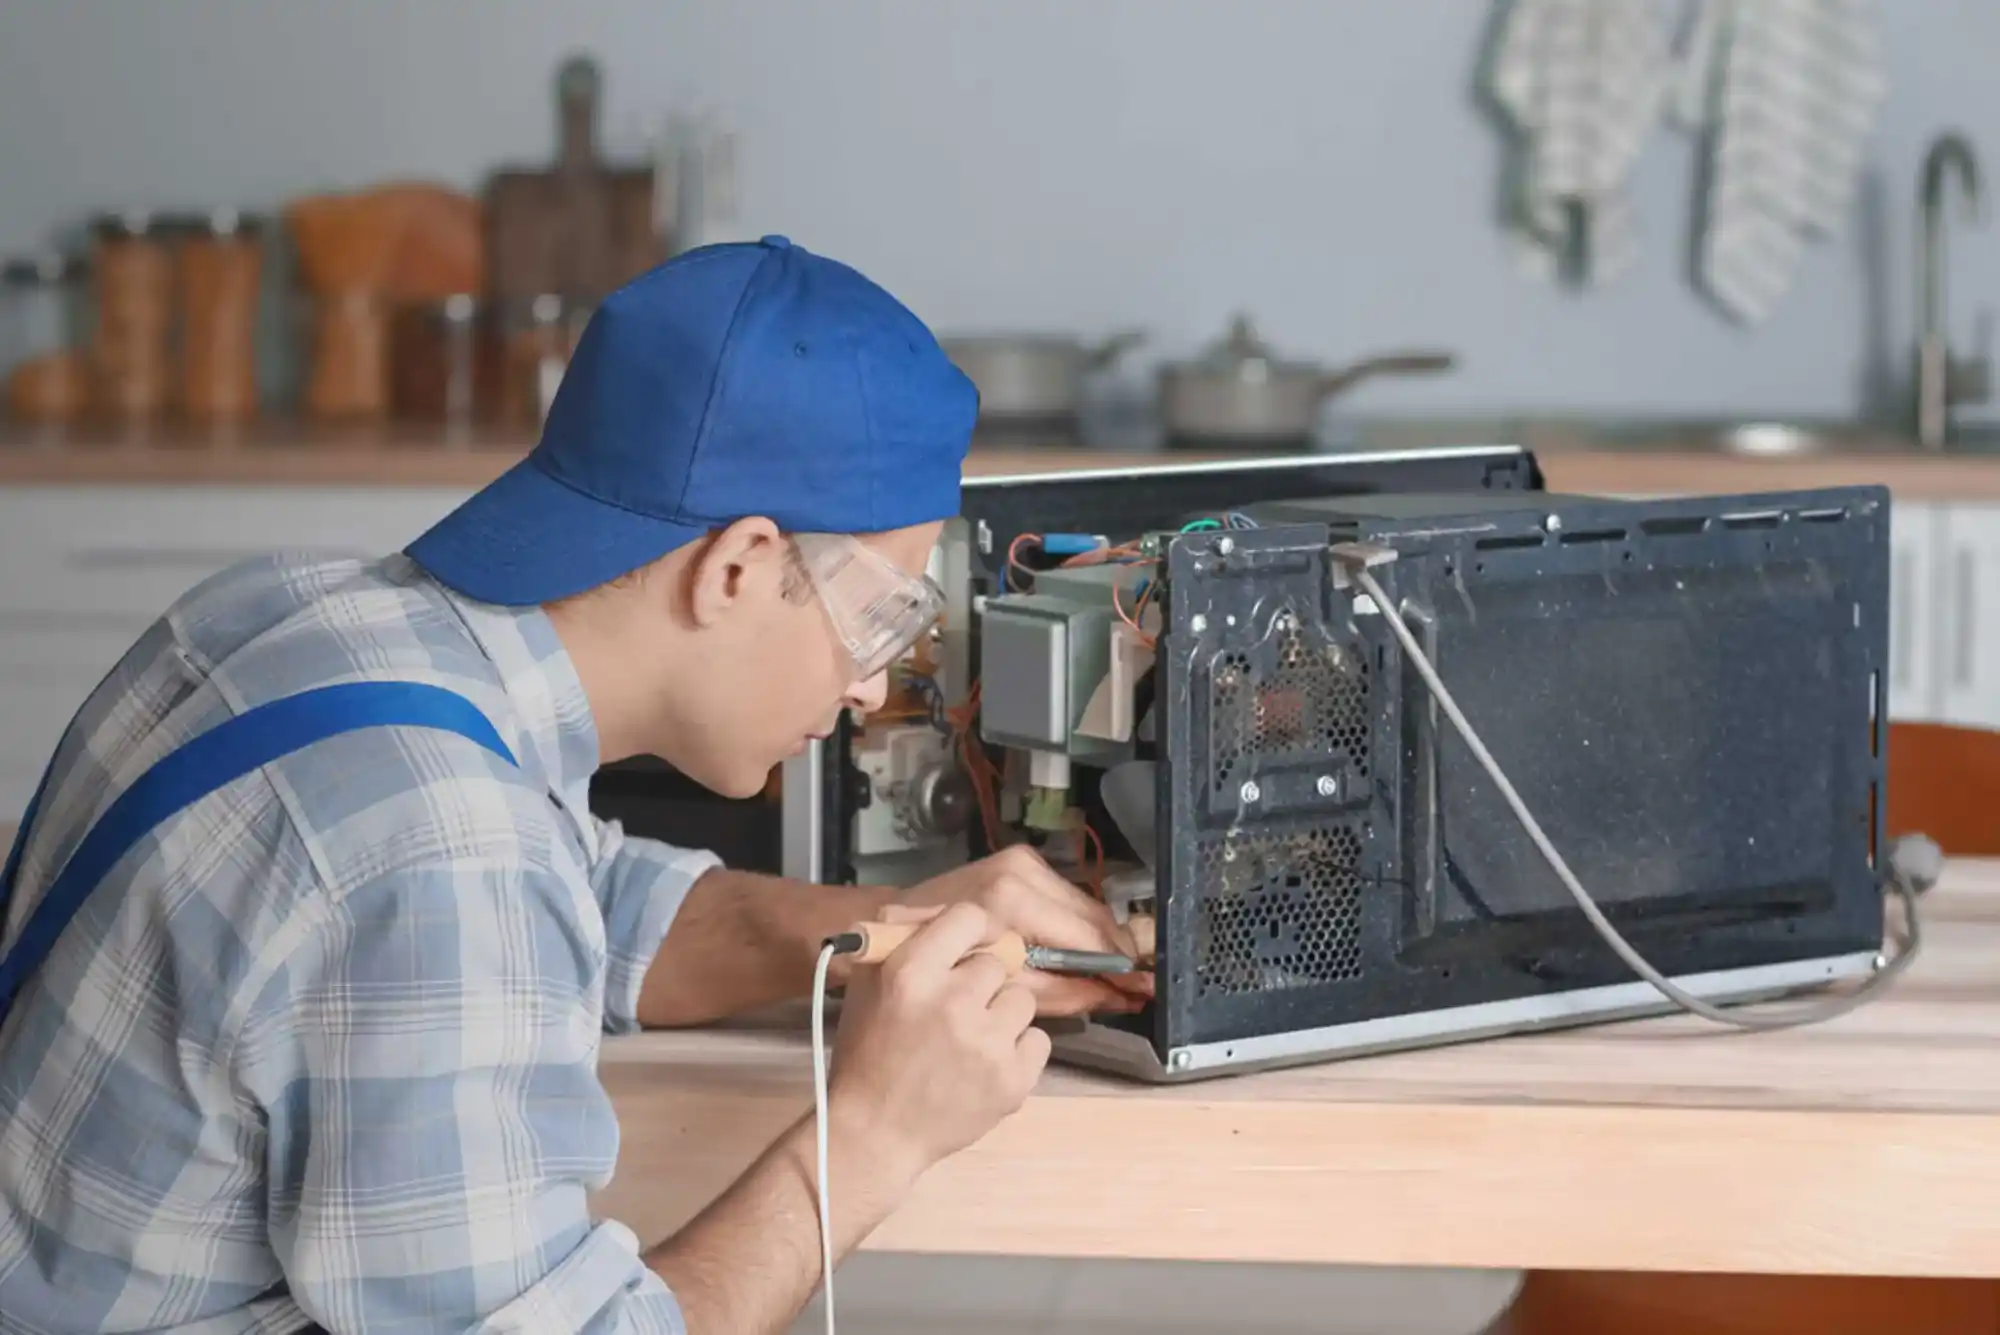
To test a burner switch properly, a few basic but reliable tools are necessary. A digital multimeter is the most important, as it allows you to measure continuity, voltage, and resistance. A screwdriver set will be needed to remove control panels or access covers, while needle-nose pliers can assist in handling wires.
Optional but useful items include a headlamp for improved visibility and a non-contact voltage tester to confirm the absence of live current before touching any wires. Having these tools organized and ready ensures that the testing process proceeds efficiently without interruptions.
Accessing the Burner Switch Safely
Once safety precautions are taken, the next step involves reaching the burner switch. This usually requires removing the stove’s back panel or the control panel where knobs are located. Carefully pull off the control knob associated with the faulty burner, then unscrew the panel to reveal the switch and its wiring connections.
During this stage, it is helpful to take a photograph of the wiring layout before disconnecting anything. This visual reference ensures wires can be reattached correctly after testing or replacement. Incorrect wiring can cause additional damage, so documentation is a small but crucial step in the process.
Using a Multimeter to Test the Switch
Testing the burner switch involves checking for electrical continuity. Continuity refers to whether electricity can flow through a circuit without interruption. A functioning switch should show continuity in certain positions and no continuity in others, depending on how it is turned.
Set your multimeter to the continuity or resistance mode. With the switch removed from its wiring connections, place the probes on the input and output terminals. Turn the switch through its settings while observing the multimeter readings. If the device shows no continuity at all positions or inconsistent results, the switch is faulty and requires replacement.
This process might seem technical, but it follows the same principle used in testing any electrical control: a reliable circuit conducts electricity predictably, while a defective one fails to do so.
Distinguishing Between a Faulty Switch and a Bad Burner
It is important to confirm that the burner itself is not the source of the problem. Sometimes a heating element burns out, leading to similar symptoms as a failed switch. To rule this out, test the burner separately for continuity. If the burner shows normal resistance but does not heat when connected, the switch is the more likely culprit. Conversely, if the burner has no continuity, the element itself must be replaced.
This distinction is critical because replacing a burner switch unnecessarily not only costs money but also leaves the original problem unsolved. Careful testing ensures accurate identification of the faulty component.
The Importance of Proper Replacement
Once testing confirms that a burner switch is defective, replacement becomes the only solution. It is essential to obtain the correct part designed for your stove’s brand and model. While universal parts exist, they may not always provide the same fit or performance as manufacturer-approved switches.
When installing the new switch, reattach wires exactly as they were on the original. Refer to the photograph taken earlier or consult the wiring diagram in the appliance manual. After installation, secure the panel and test the burner under normal cooking conditions to verify smooth operation.
Preventive Measures to Extend Switch Lifespan
Although switches inevitably wear out, certain practices can extend their life. Avoid turning burner knobs forcefully, as this can stress internal contacts. Clean spills promptly, preventing moisture from seeping into the control area. Also, using cookware that matches burner size helps maintain balanced heat output, reducing strain on both the switch and the heating element.
Periodic inspection of the stove’s electrical connections can also prevent damage caused by loose wires or corrosion. Taking these preventive steps does not eliminate eventual replacement but can delay it significantly.
When to Seek Professional Assistance
While many homeowners can test and replace a burner switch with the right tools and caution, there are times when professional help is necessary. If the stove shows multiple electrical problems, wiring appears burned, or you are uncomfortable handling electrical testing, a licensed technician should be consulted.
Professional service not only ensures accurate repairs but also upholds warranty conditions on certain appliances. Safety should always outweigh the desire to handle repairs independently when uncertainty exists.
Maintaining Kitchen Reliability
Testing a stove burner switch may seem intimidating at first, but with a careful and systematic approach, it becomes a manageable task. Recognizing symptoms of failure, applying strict safety measures, and using a multimeter correctly allow you to identify whether the switch or the burner is at fault.
By addressing problems promptly, you restore efficiency to your kitchen and reduce risks associated with malfunctioning electrical components. More importantly, you gain confidence in maintaining one of the most essential appliances in your home. Whether you proceed with replacement yourself or rely on professional support, the key lies in informed and safe decision-making.
In the end, a functioning burner switch ensures not only properly cooked meals but also peace of mind that your kitchen remains a safe and dependable space for daily living.