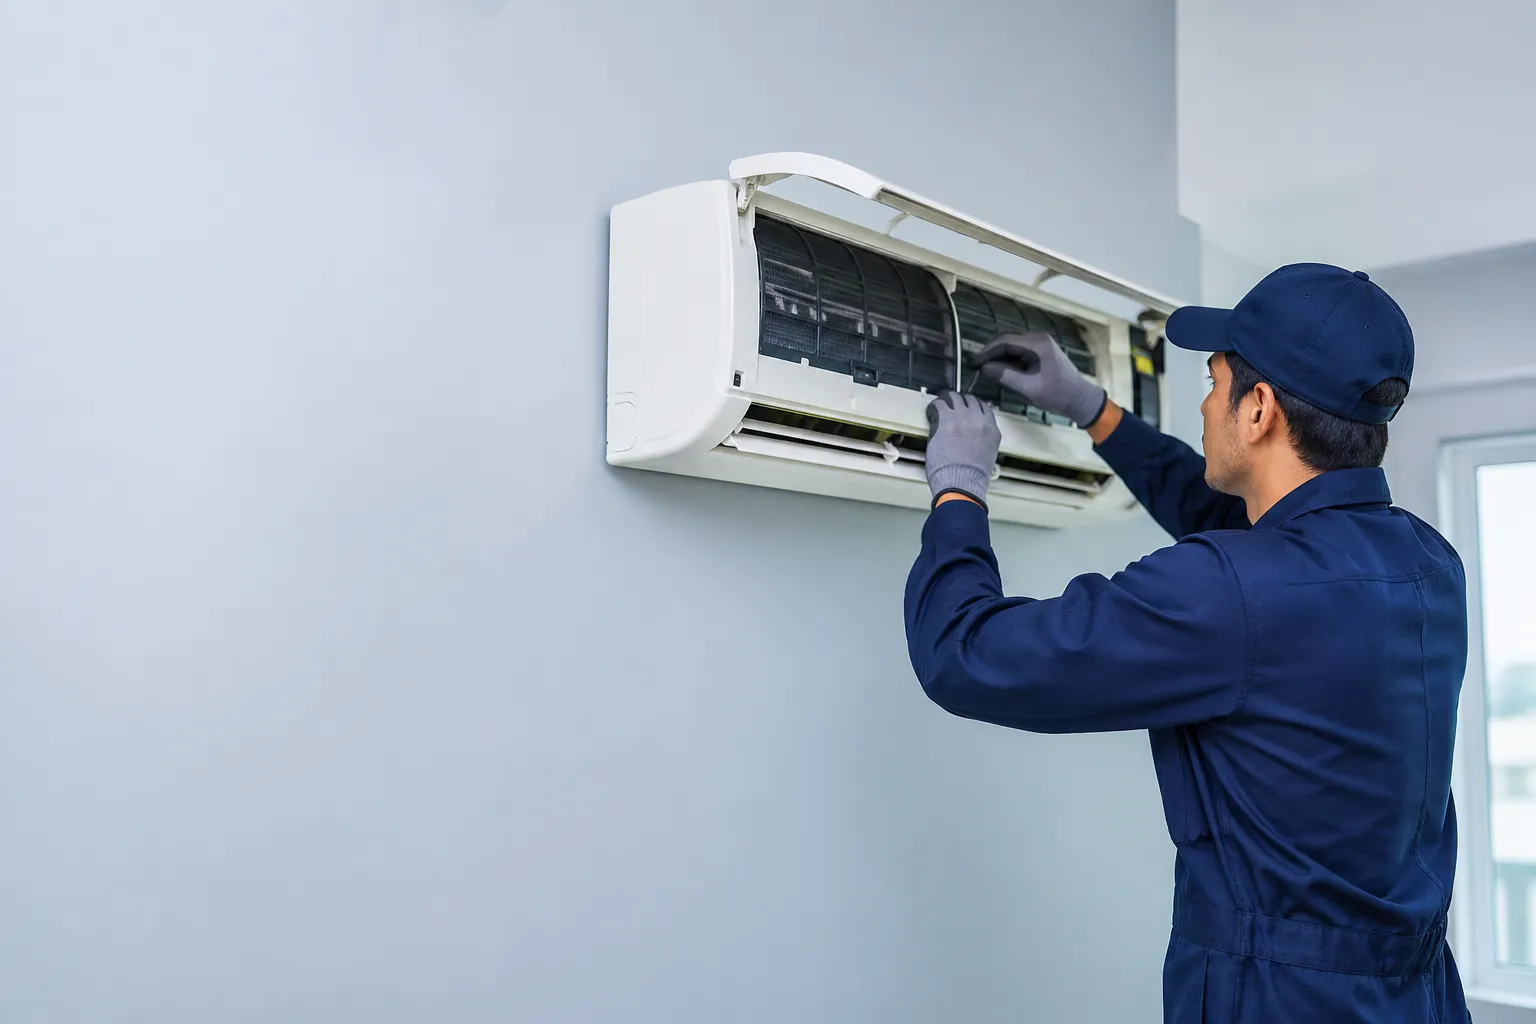
The broiler element in an oven is one of the most important components that ensures even heating, perfect browning, and quick grilling. Over time, this part may wear out due to frequent use, high temperatures, or electrical faults. When your oven’s broiler stops working, food may take longer to cook, or it may not achieve the desired finish. Fortunately, replacing an oven broiler element is a task that can be done at home with the right preparation, knowledge, and attention to safety.
This detailed guide explains the complete process of replacing an oven broiler element, the tools required, signs that indicate your element needs replacement, and when it is best to call a professional service provider.
Understanding the Role of the Broiler Element
The broiler element is usually located at the top of an electric oven and functions like an upside-down grill. It produces intense, direct heat that helps with roasting, melting, crisping, or broiling foods. Unlike the baking element at the bottom, the broiler ensures surface browning and finishing touches for dishes such as casseroles, steaks, and baked goods.
When the broiler element is damaged, the oven loses one of its most powerful cooking features. Common problems include visible burn marks, uneven cooking, or the complete absence of heat. Knowing how this part works makes it easier to understand why replacement is sometimes necessary.
Signs That Your Oven Broiler Element Needs Replacement
A malfunctioning broiler element often shows clear signs before it completely fails. The most obvious symptom is when the broiler no longer glows red when turned on. Food placed close to it may take much longer to cook, and in some cases, the element may display visible damage such as cracks, blistering, or breaks. Another sign is when only a portion of the element heats while the rest remains cold, creating uneven results. In more severe cases, turning on the broiler may cause the oven to trip the electrical power supply, which is a strong indication that the element has become unsafe to use.
Safety Precautions Before Starting the Replacement
Working with electrical appliances always requires attention to safety. Before starting the replacement, the oven must be disconnected from all power sources. If it is a plug-in model, it should be unplugged from the socket, while hardwired units should be switched off at the circuit breaker. The oven should be allowed to cool completely, as working with a hot element can result in burns. Protective gloves and eye coverings add an extra layer of safety. A well-lit and organized workspace ensures that screws and small components are not misplaced during the process.
Tools and Materials Needed
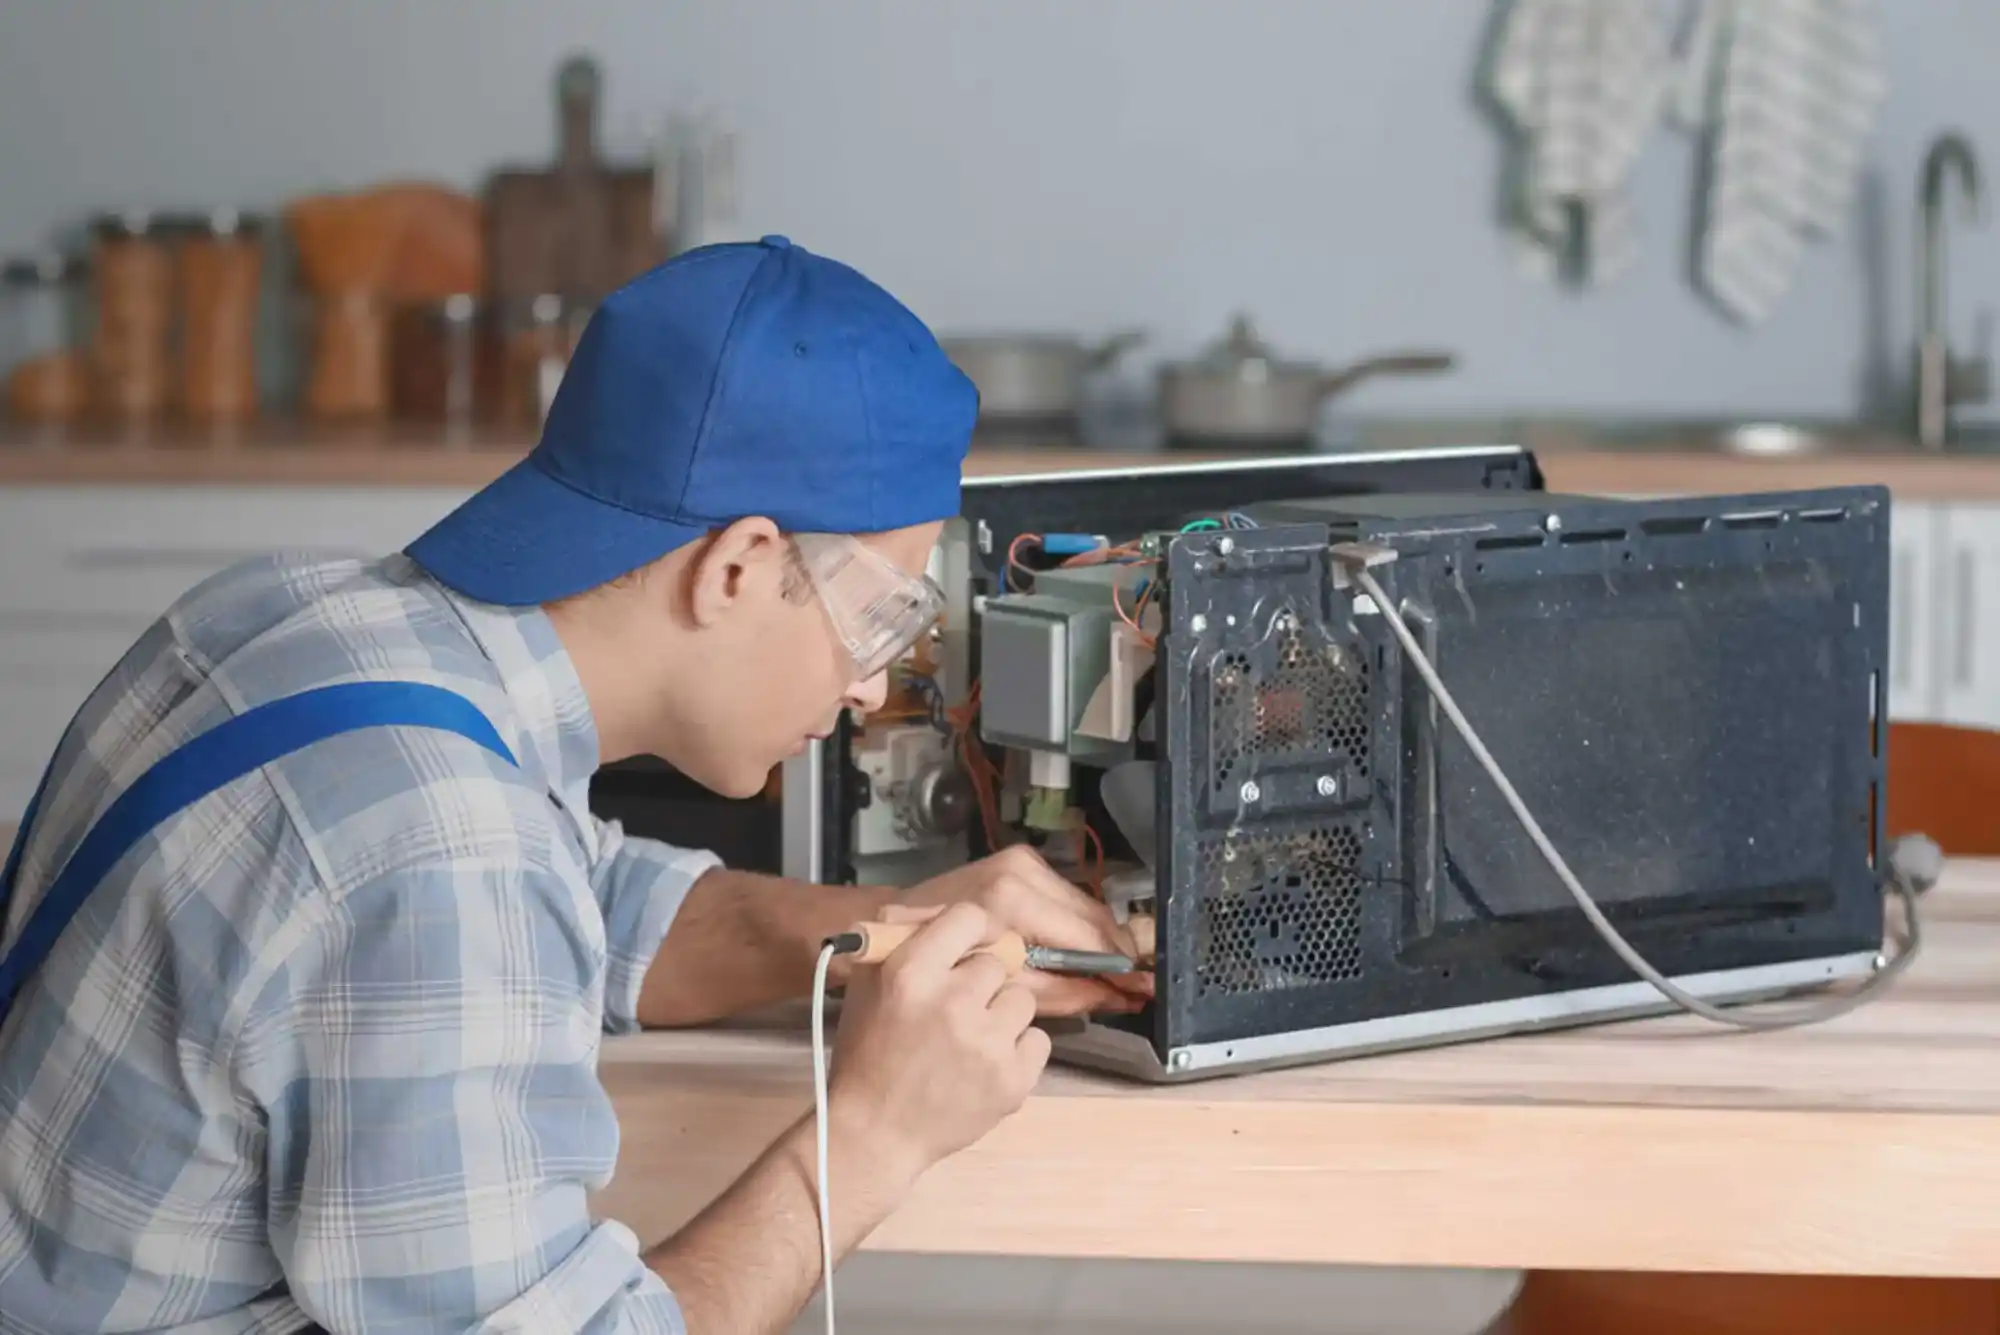
The process of replacing an oven broiler element does not require advanced equipment, but a few essential tools are necessary. A screwdriver, either Phillips or flathead depending on the model, is used to remove screws that secure the element. Needle-nose pliers help in disconnecting and reconnecting the wires. A flashlight may be useful to provide better visibility inside the oven. The most important component is, of course, the replacement broiler element itself, which should match the exact model of the oven to ensure compatibility and safety.
Step-by-Step Guide to Replacing the Broiler Element
The replacement begins by making sure the oven is completely disconnected from electricity. Once this is confirmed, the oven racks should be removed to create space for reaching the element at the top. The broiler element is usually secured with screws or a mounting bracket. These need to be unscrewed carefully, after which the element can be pulled forward to reveal the electrical connectors. At this stage, pliers can be used to gently disconnect the wires without tugging on them forcefully.
The new broiler element can then be positioned in place, and the wires should be connected securely to the terminals. Ensuring a firm connection is critical to avoid electrical faults during operation. Once the connections are made, the element is pushed back into its position and fastened with screws. After reassembly, the oven can be reconnected to the power supply. The broiler function should then be tested to confirm that the element glows red evenly, indicating a successful installation. Once tested, the oven is switched off again and allowed to cool before the racks are placed back inside.
Common Mistakes to Avoid
Although the process is simple, certain mistakes can complicate it or cause damage. Attempting to replace the element without disconnecting power is the most dangerous mistake and can lead to severe electric shock. Using an incompatible replacement part is another issue, as not all elements are designed for the same oven models. Pulling wires roughly can damage the connectors, while leaving screws loose may cause the element to shift or malfunction during use. Another error is testing the element before it is properly secured, which can create hazards. Paying attention to these details ensures a safe and effective replacement.
When to Call a Professional Oven Repair Service
While many homeowners can handle the task themselves, some situations require the expertise of professionals. If the oven is under warranty, attempting a replacement at home may void it. In cases where the oven continues to trip breakers or fails to function even after the element is replaced, there may be deeper electrical issues that require expert diagnosis. Residents in Dubai, for example, often rely on Hafixer Home Appliances Repair for such services. Their technicians are trained to handle electrical appliance repairs safely and can replace oven components using genuine parts to restore performance quickly and effectively.
Maintenance Tips to Extend the Life of Your Broiler Element
Once the broiler element is replaced, proper maintenance can extend its lifespan. Regular cleaning of the oven prevents grease and food particles from accumulating on the element, which can cause burning or uneven heating. Being mindful not to spill sauces directly onto the element during cooking also helps preserve it. Overuse of the broiler for every meal is unnecessary and may shorten its lifespan, so it is best to use it only when needed. Periodically checking the element for early signs of wear and ensuring that the oven is properly ventilated during operation further contributes to its durability.
Learning how to replace an oven broiler element gives homeowners greater control over appliance maintenance and can save the expense of unnecessary service calls. The process involves understanding the role of the element, recognizing when it needs replacement, taking safety precautions, and following a step-by-step installation method. Although straightforward, the task still requires careful handling, and in more complex situations, professional assistance remains the safest option.
A properly functioning broiler element enhances the cooking experience by delivering even heat and achieving the perfect finish on meals. Whether you decide to replace the element yourself or contact professionals such as Hafixer Home Appliances Repair, keeping your oven in optimal condition ensures reliable performance and stress-free cooking.