Dishwashers are a cornerstone of modern kitchens, saving both time and effort by handling the tedious task of cleaning dishes. Like any appliance, however, dishwashers are made of parts that eventually wear out and need replacement. One of the most critical yet often overlooked components is the tub seal.
This seal, located around the edge of the dishwasher’s tub, plays a vital role in preventing water from escaping during wash cycles. When it becomes worn, cracked, or loose, leaks occur, leading to water damage, poor cleaning performance, and even costly repairs if ignored. Understanding how to replace a dishwasher tub seal not only helps in keeping your appliance in excellent working condition but also extends its overall lifespan.
Understanding the Role of the Tub Seal
The tub seal is a flexible gasket designed to create a watertight barrier between the door and the interior of the dishwasher. Every time the machine runs, water is sprayed forcefully inside the tub to clean dishes. Without a properly functioning seal, water can seep out through the edges, causing puddles on the floor and damaging cabinets or flooring. In some cases, leaks might appear minor, but over time, even small drips can weaken kitchen flooring or create mold issues.
Besides preventing leaks, the tub seal also helps maintain water pressure inside the dishwasher. This pressure ensures that water jets clean effectively. If the seal is compromised, the cleaning cycle may lose efficiency, leaving dishes dirty despite a full wash cycle. Therefore, replacing the tub seal is more than just stopping leaks—it restores the overall performance of the dishwasher.
Signs That Your Tub Seal Needs Replacement
Homeowners often overlook the early signs of a failing tub seal. Some of the common indicators include water pooling around the dishwasher after a cycle, visible cracks or deformation on the seal, or an unusual whistling sound when the door is closed but not sealed properly. Sometimes, the dishwasher door may also feel looser than usual, indicating that the gasket no longer holds a snug fit. Ignoring these signals allows the problem to worsen, resulting in more significant damage over time.
Another subtle sign is the presence of mildew or mold around the door edges. This occurs because a damaged tub seal can trap moisture, creating the perfect environment for bacteria growth. Addressing the issue early by replacing the seal helps maintain not only the functionality of the appliance but also hygiene in the kitchen.
Preparing for the Replacement
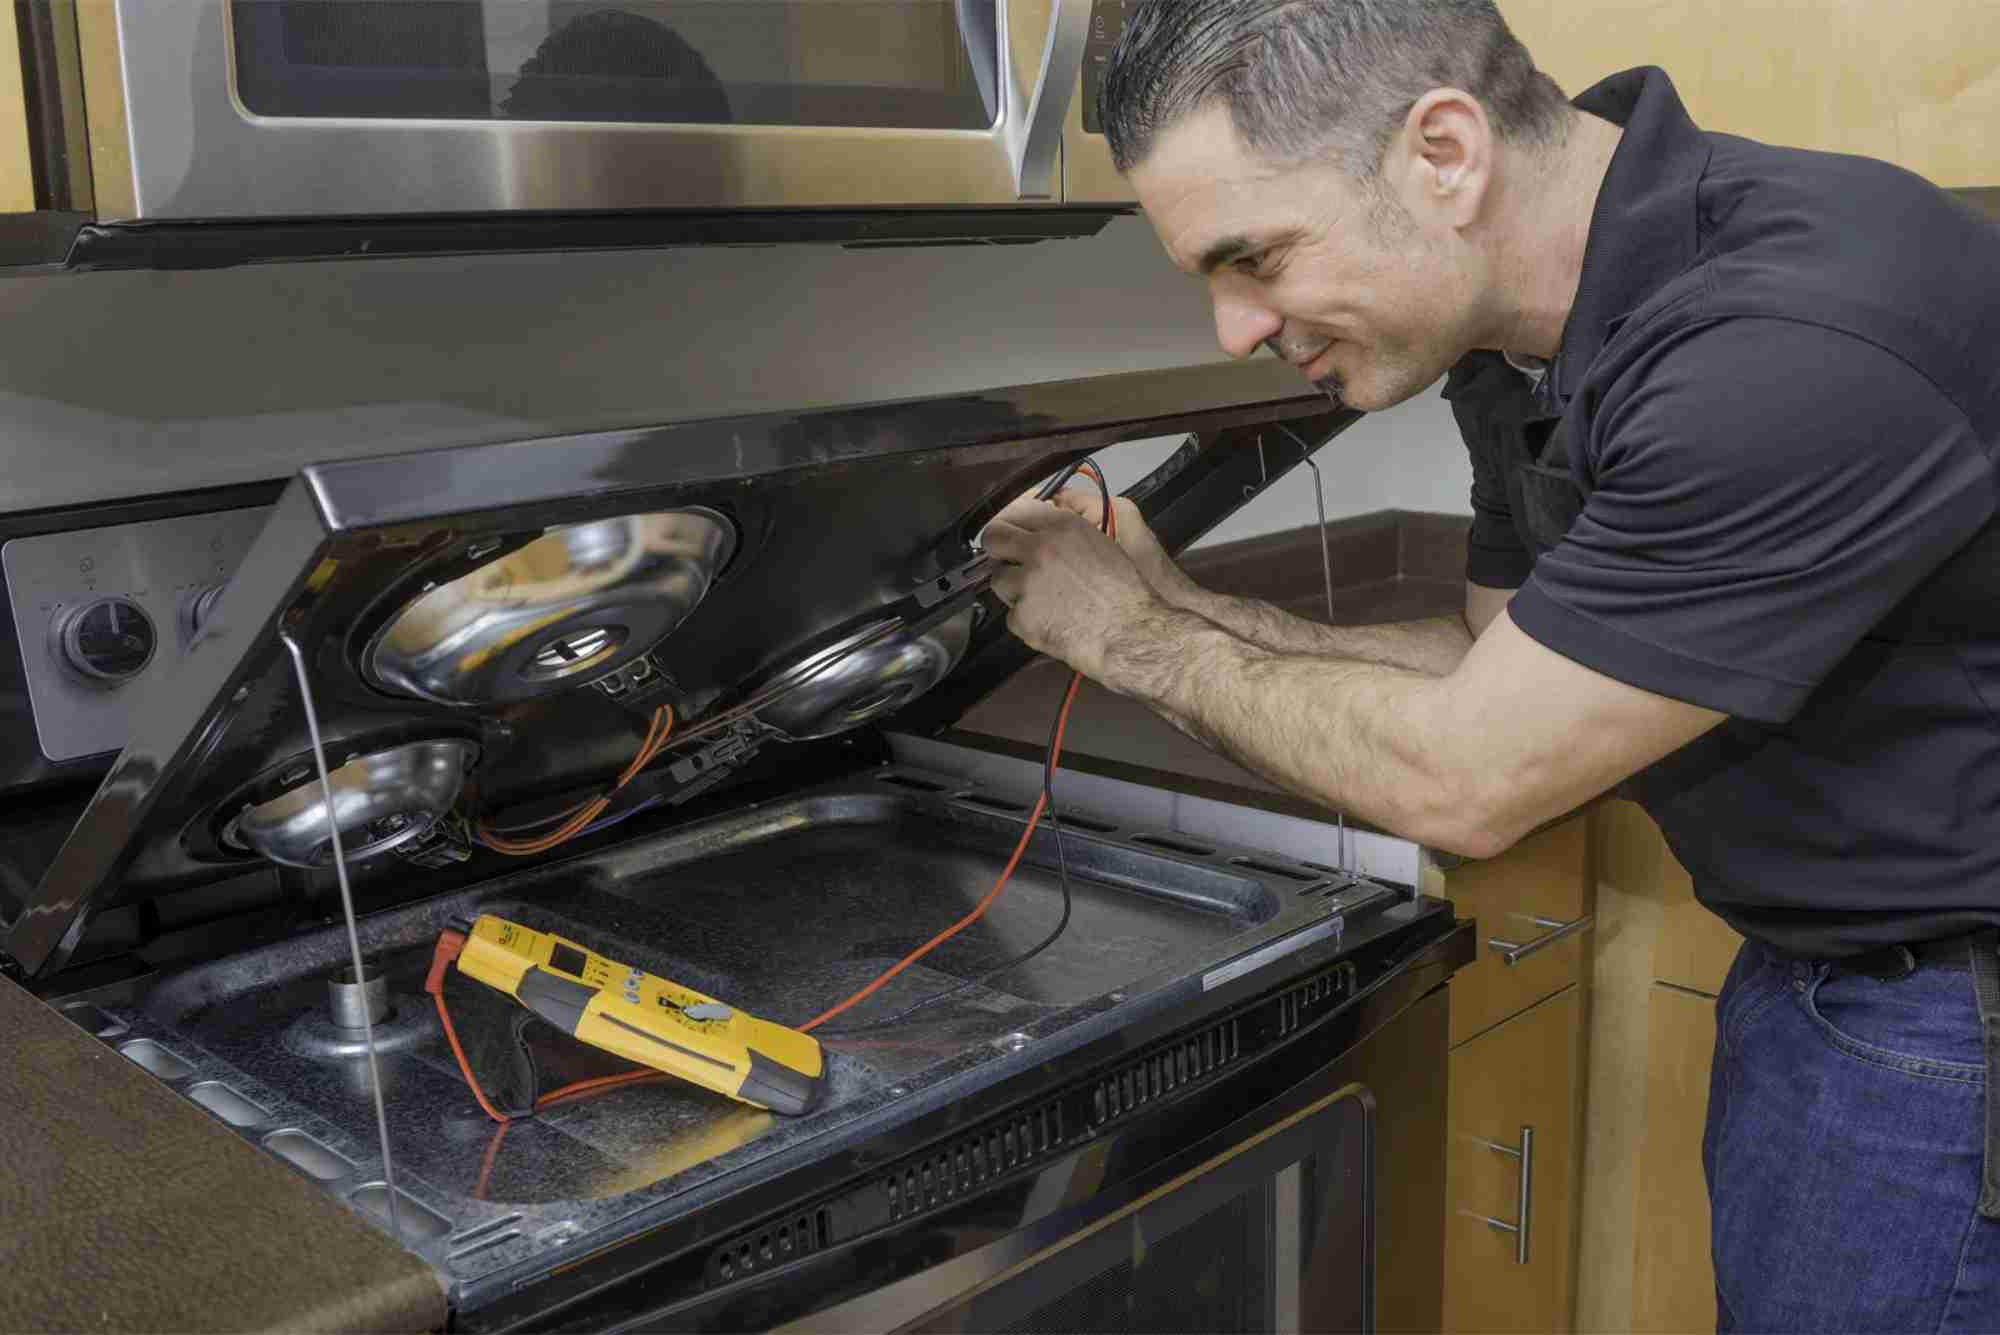
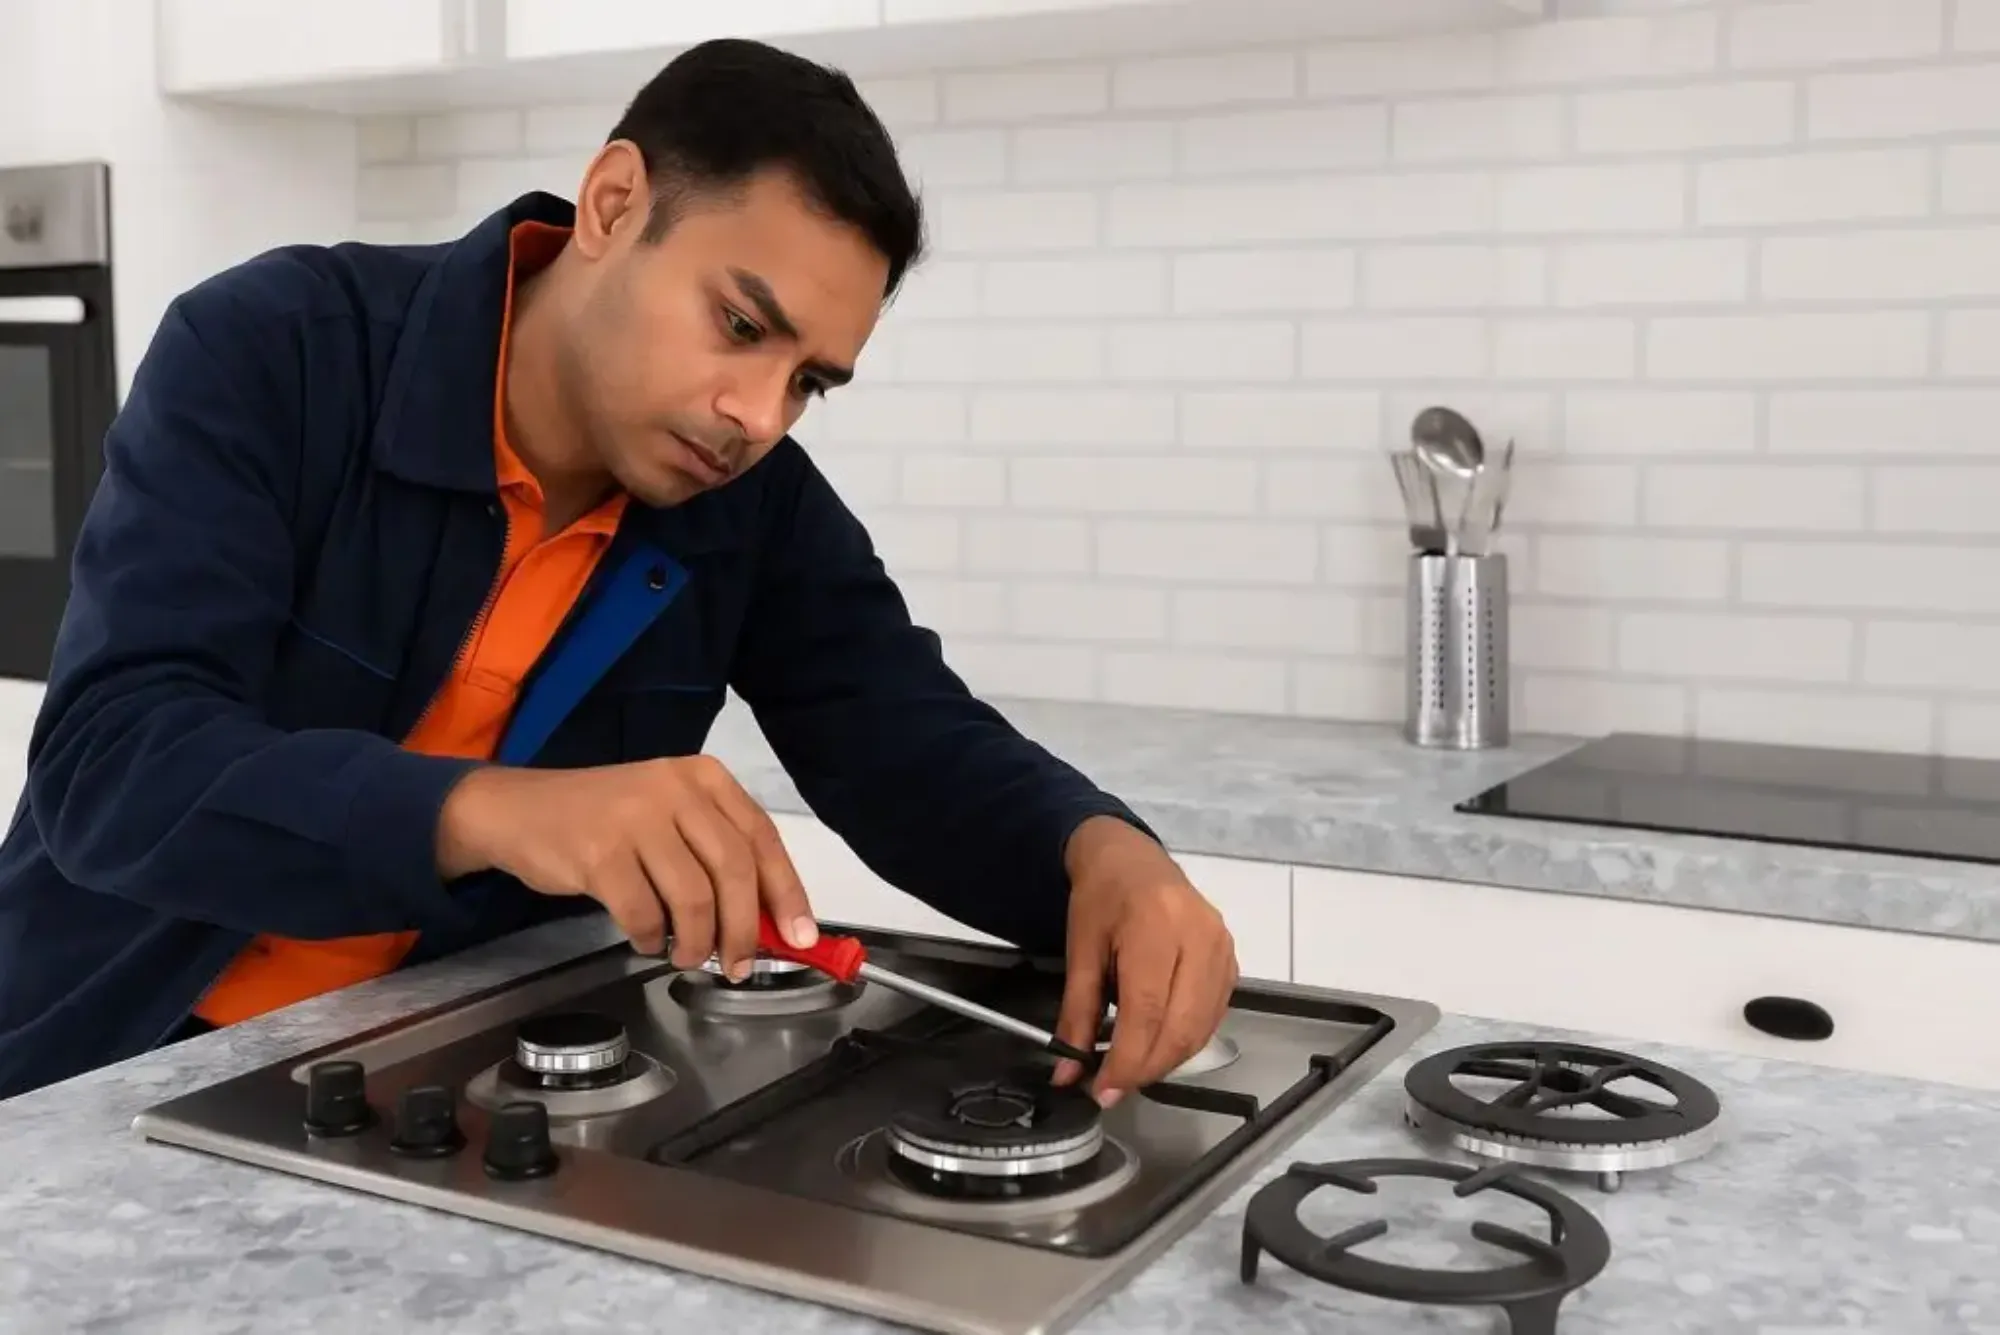
Before attempting to replace the tub seal, proper preparation is essential. Safety comes first, so the dishwasher should always be disconnected from power. Unplugging the appliance or switching off its dedicated breaker prevents any electrical hazards during maintenance. Additionally, shutting off the water supply ensures that no accidental leaks occur while working.
Gathering the correct tools also makes the process smoother. A screwdriver, pliers, a soft cloth, and a replacement seal specific to the dishwasher model are usually required. Using the manufacturer-recommended seal is crucial, as generic seals may not provide a proper fit, leading to continued leaks even after replacement. Having these preparations completed avoids interruptions mid-task.
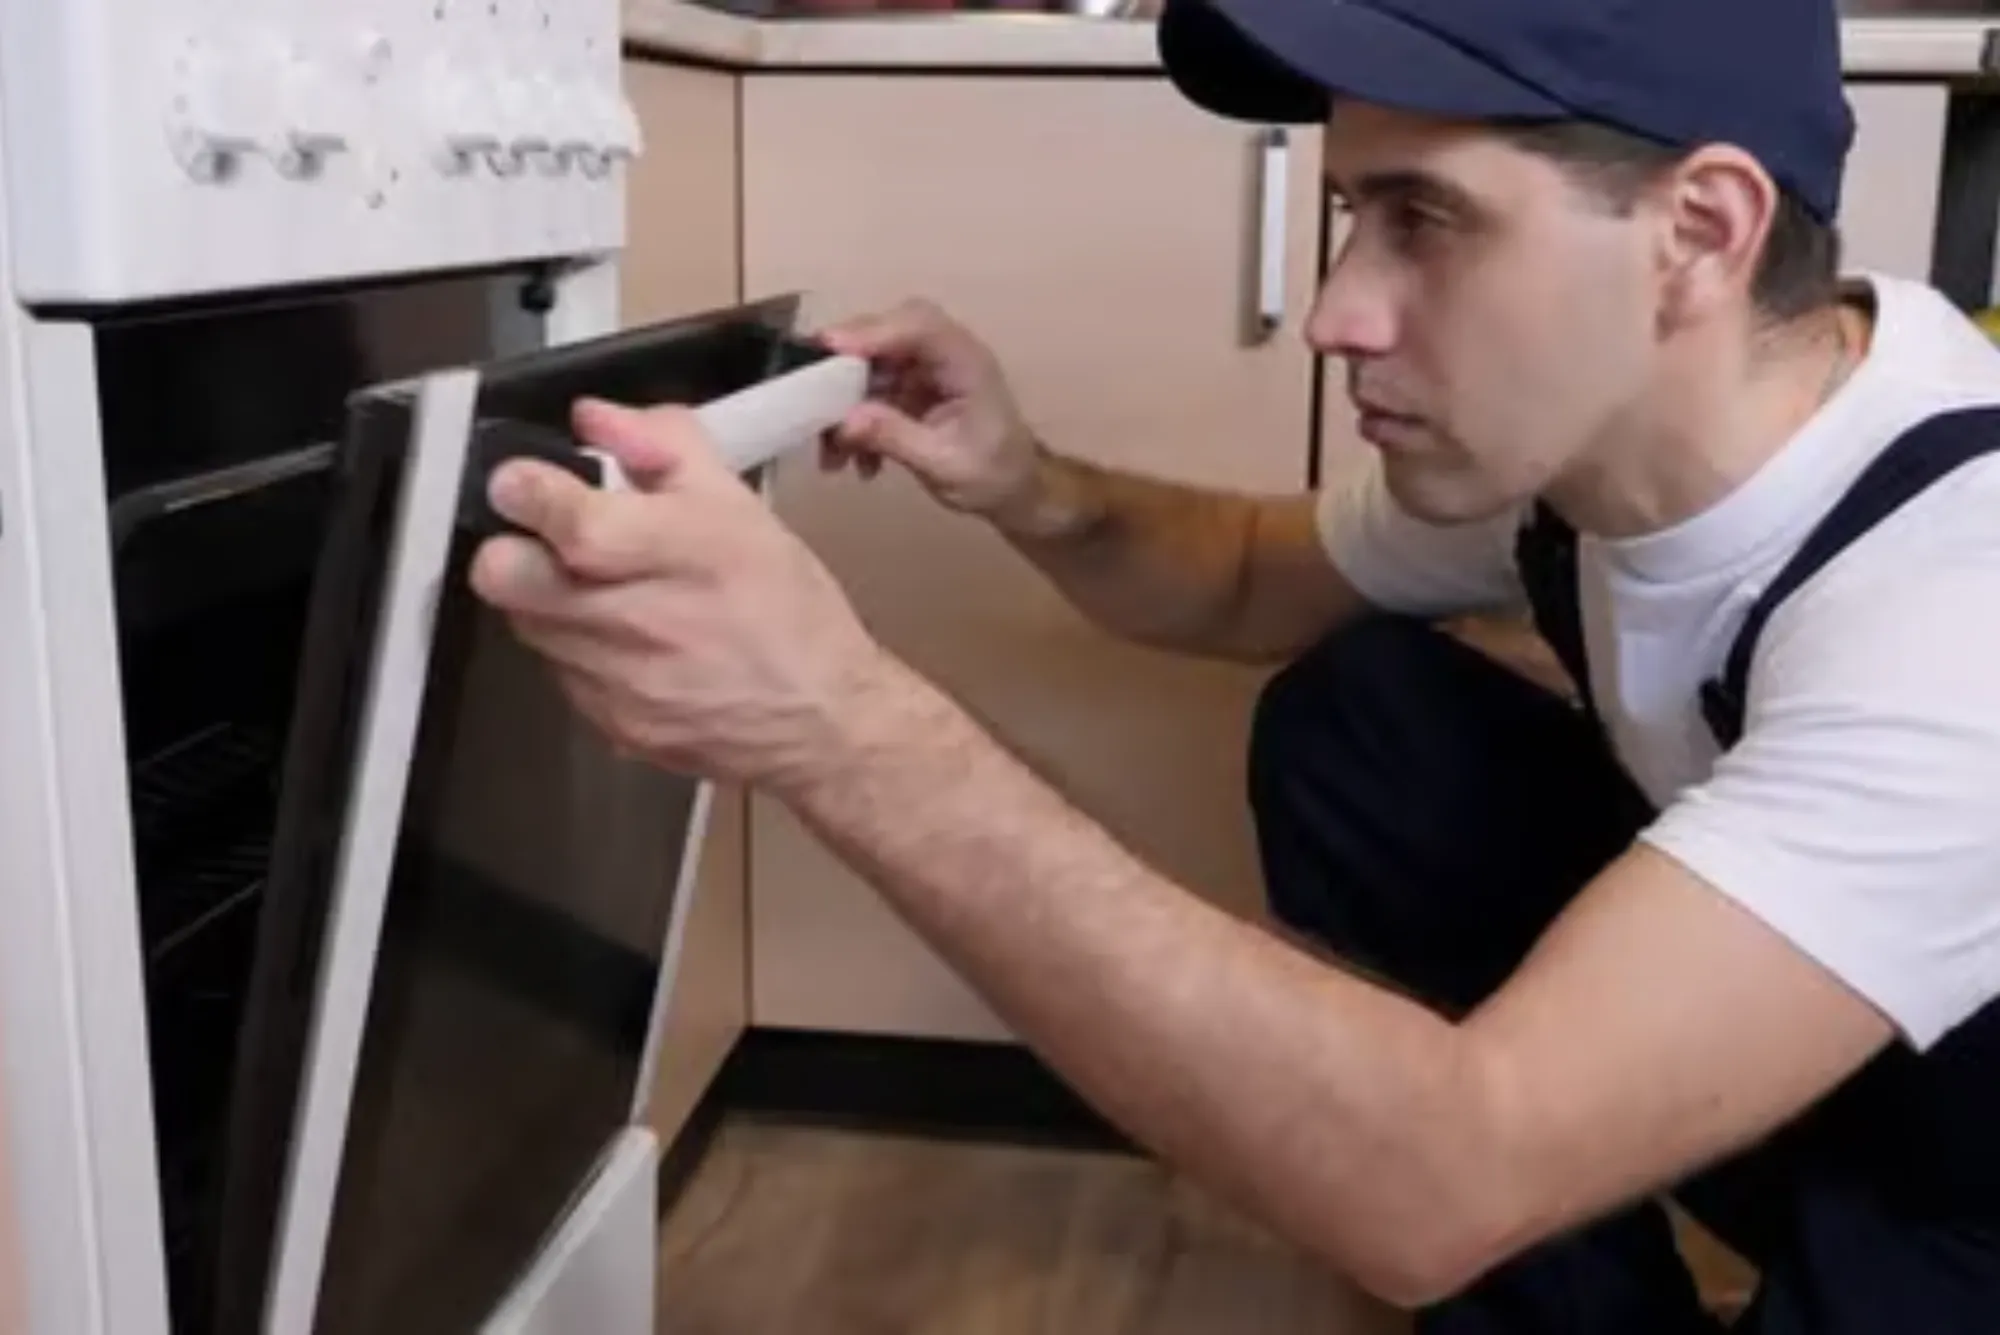
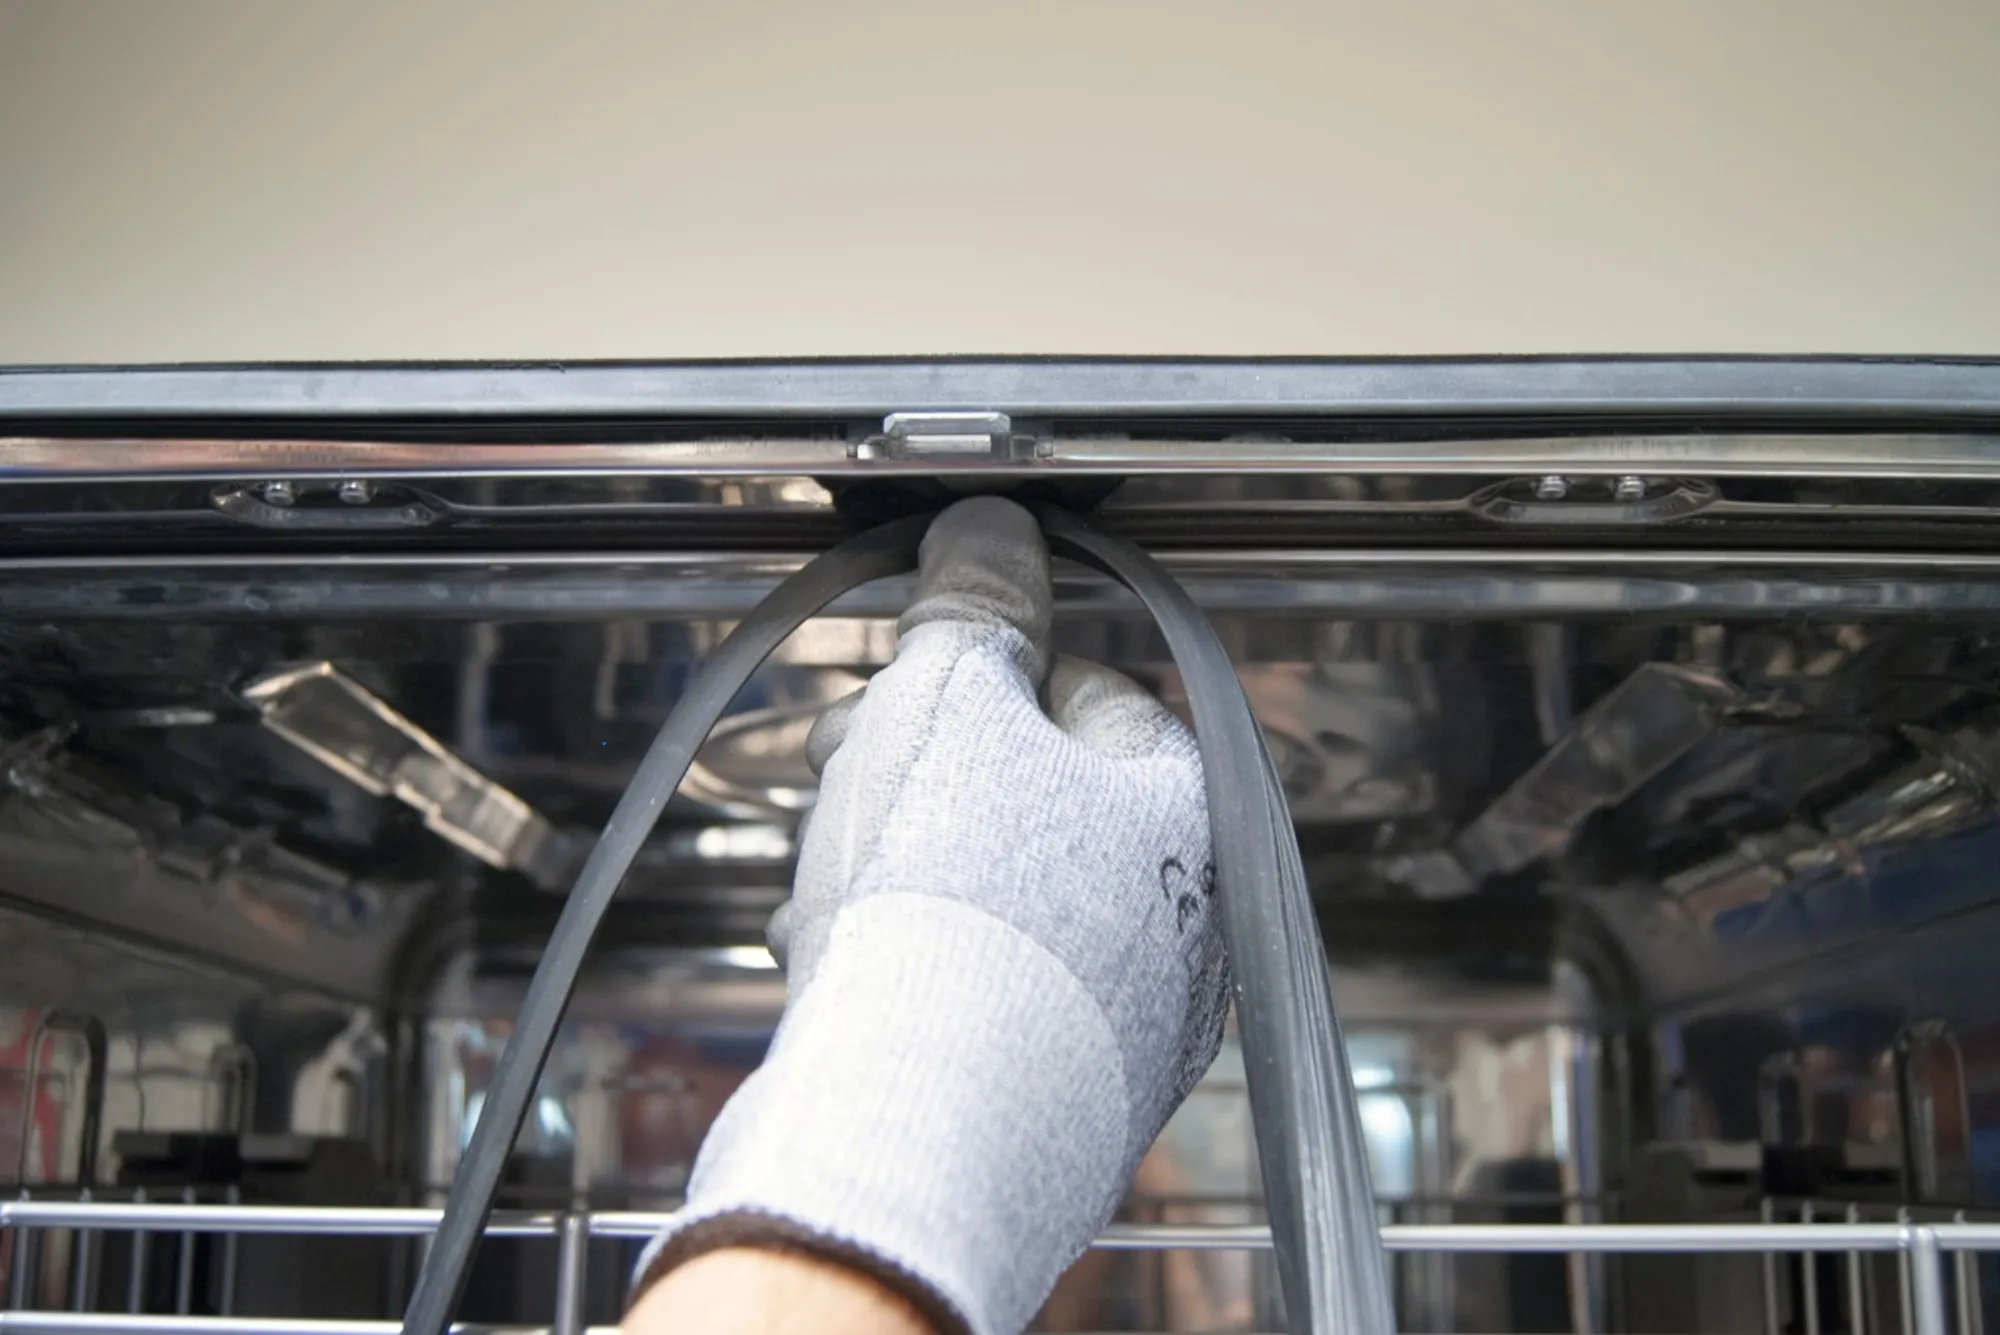
Removing the Old Tub Seal
The process of replacing the tub seal begins with removing the old one. The dishwasher door should be opened fully to access the gasket. Most tub seals are fitted into a channel or groove running along the door frame. Over time, the seal becomes compressed and may adhere to the surface, making it slightly difficult to remove. Carefully pulling the old seal out of its groove is the first step. If it resists, gentle prying with a flat tool or using pliers can help.
While removing the seal, it is important to inspect the channel for debris, residue, or hardened detergent build-up. Cleaning the groove thoroughly with a damp cloth ensures that the new seal will sit properly without obstruction. Skipping this step often results in improper sealing even with a brand-new gasket.
Installing the New Tub Seal
Once the groove is clean, the new tub seal can be installed. The process requires careful alignment to avoid twists or gaps. Starting at the top center of the dishwasher, press the seal firmly into the groove, working gradually around the sides and finally toward the bottom. Equal pressure ensures that the gasket sits flush and provides a tight seal.
The new gasket may initially appear slightly oversized. This is intentional, as seals are designed to compress slightly over time. Once in place, closing the dishwasher door helps mold the gasket into its proper shape. In some cases, running a hot cycle immediately after installation helps the seal soften and adapt to the door frame, improving its effectiveness.
Testing the Seal for Leaks
After installing the new tub seal, testing is essential to confirm that the replacement was successful. Reconnecting the power and water supply, followed by running a short wash cycle, helps check for leaks. Observing the base of the dishwasher during operation ensures that water is no longer escaping.
If minor drips still appear, adjusting the seal placement or ensuring it is seated evenly around the entire groove usually resolves the issue. In rare cases, leaks may persist due to door misalignment or damaged hinges, in which case a professional inspection is recommended.
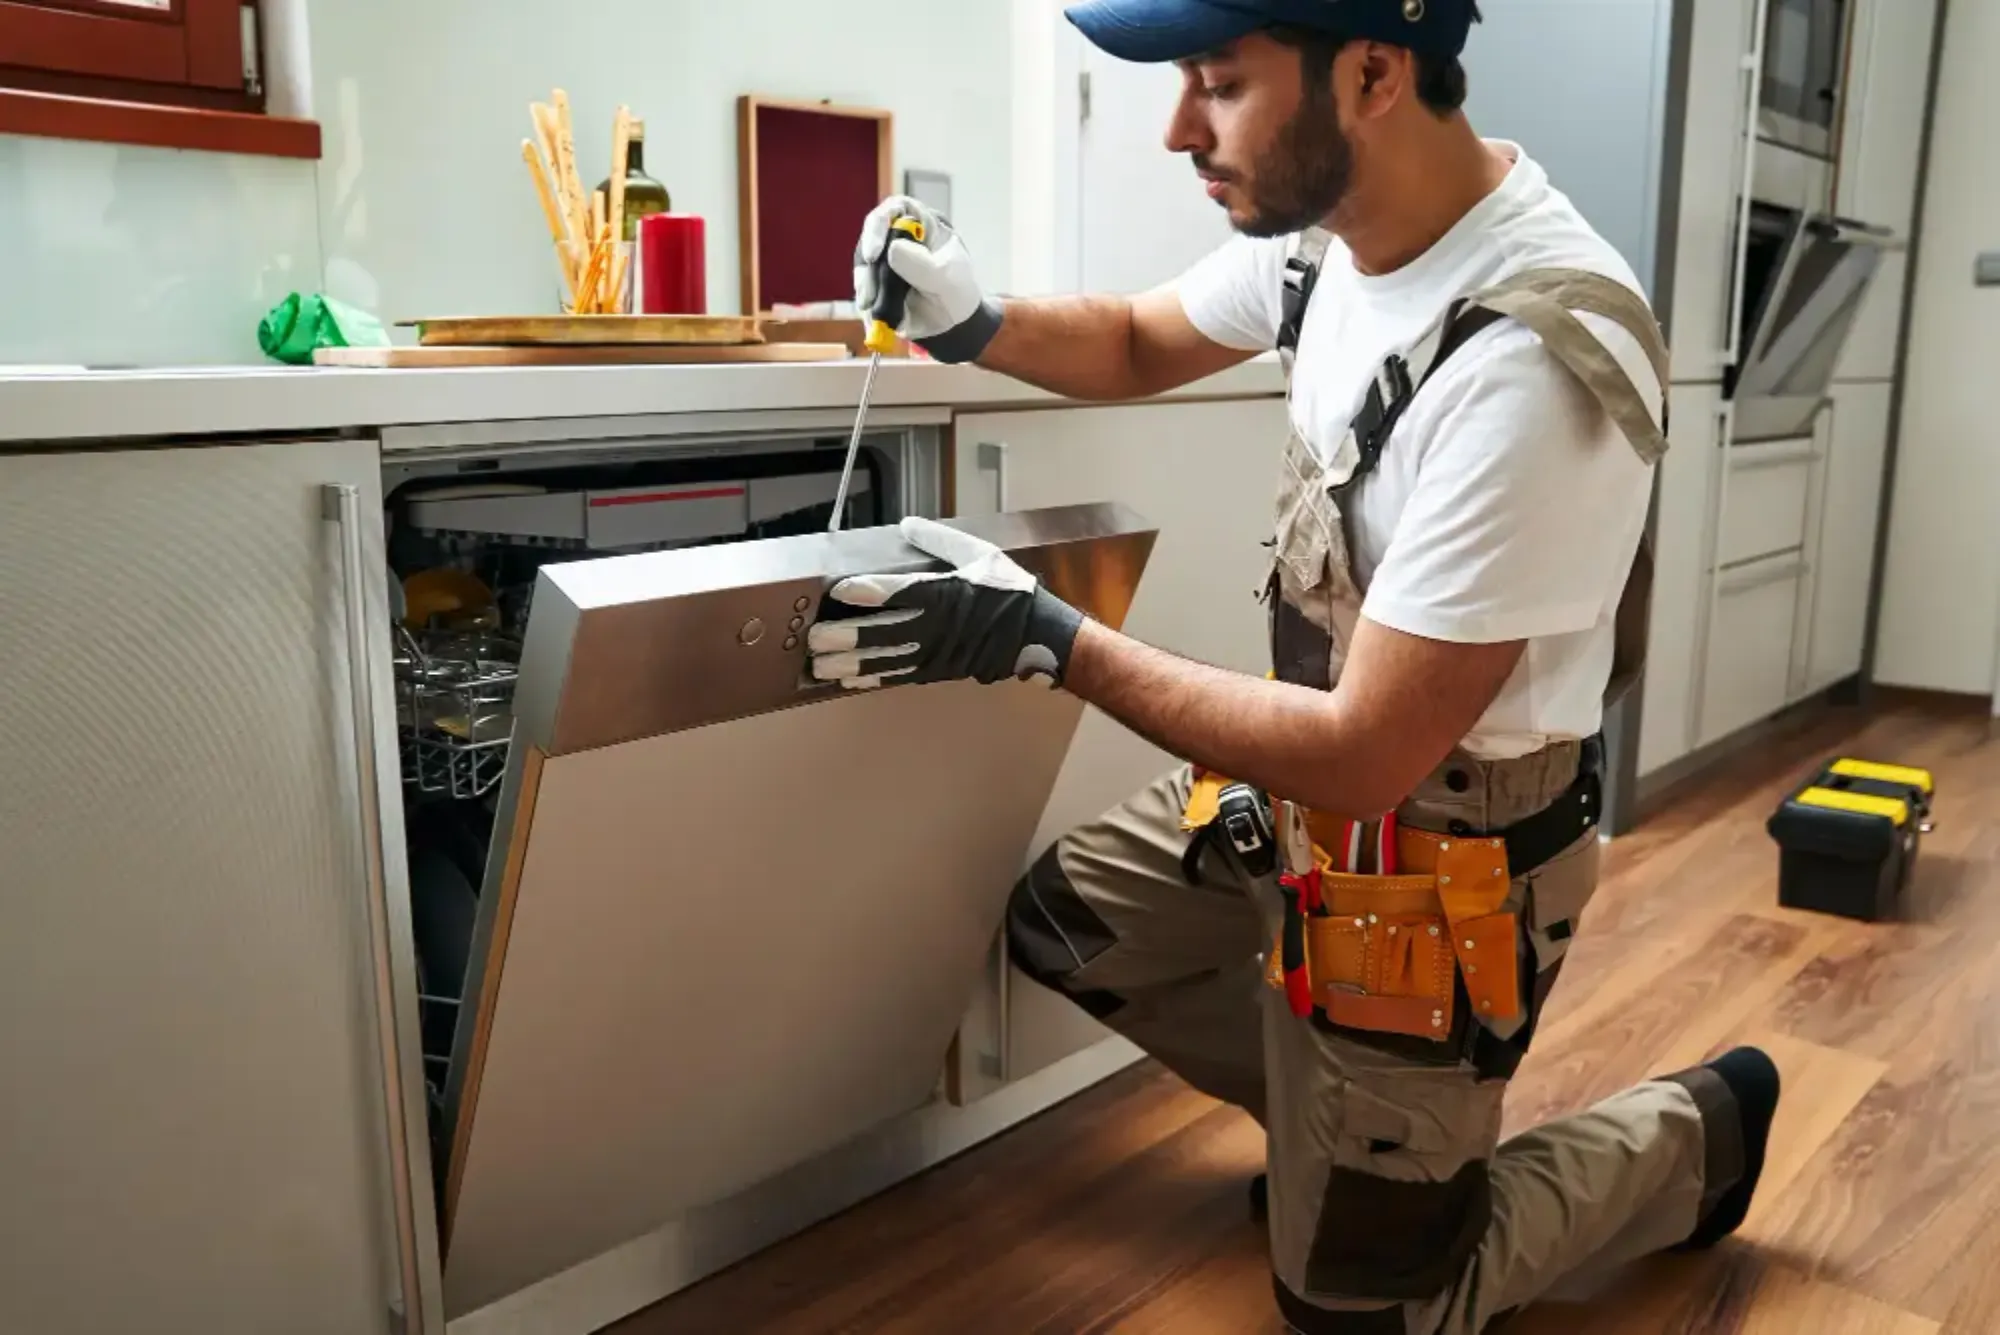
Why Professional Help May Be Necessary
Although replacing a tub seal is considered a manageable task for many homeowners, certain situations require professional expertise. For instance, dishwashers that are built-in may be more challenging to access, and improper handling can lead to unintentional damage. Additionally, if leaks persist even after replacing the seal, there could be underlying issues such as a warped door or a damaged tub frame.
Professionals not only replace the seal but also inspect the appliance for related problems. They ensure that all components are functioning as they should, providing peace of mind and preventing recurring issues. For busy households or individuals who lack experience with appliance repair, hiring a technician can save both time and frustration.
Extending the Life of the New Tub Seal
Once the new tub seal is installed, proper care ensures it lasts longer. Regularly cleaning the gasket with a mild detergent helps prevent grease and food particles from building up. Avoiding the use of harsh chemicals or sharp tools protects the seal from premature wear. Additionally, ensuring that the dishwasher door is not slammed shut extends the life of the seal by reducing unnecessary strain.
Another useful practice is to periodically check the seal for signs of wear. Catching small issues early, such as minor cracks or deformations, allows timely maintenance before the seal fails completely. Preventive care not only reduces the frequency of replacements but also keeps the dishwasher operating efficiently year after year.
Final Thoughts
Replacing a dishwasher tub seal is a practical way to restore your appliance’s efficiency, prevent costly water damage, and ensure that dishes come out clean every cycle. While it may seem like a minor component, the seal plays a critical role in the overall functionality of the machine. By understanding its importance, recognizing the signs of wear, and following a careful replacement process, homeowners can keep their dishwashers running smoothly for years to come.